
Storybook 6.2.9 버전을 기준으로 작성되었다.
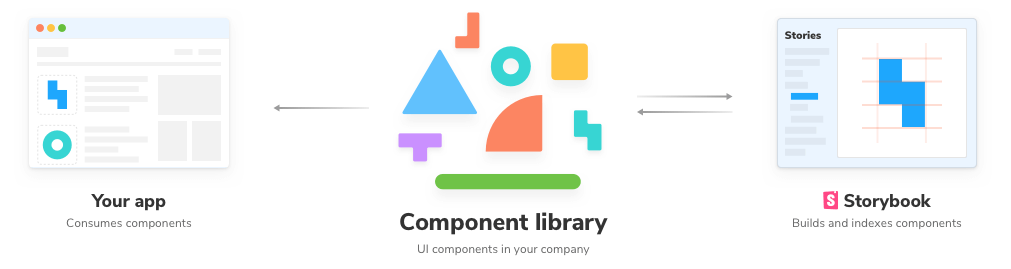
Storybook은 React, Angular, Vue 등의 분리된 UI 컨포넌트를 체계적이고 효율적으로 구축할 수 있는 개발 도구다. UI 컨포넌트 라이브러리의 문서화(documentation)를 위해 사용할 수도 있고 디자인 시스템(Design system)을 개발하기 위한 플랫폼으로 사용할 수도 있다.
1. 리액트 프로젝트
1.1. Storybook 설치
Storybook은 기존 프로젝트의 루드 디렉터리에 설치해 사용할 수도 있고, 새롭게 프로젝트를 생성하면서 설치할 수도 있다. 예를 들어, 다음과 같이 React 프로젝트를 생성하면서 Storybook 설치해보자.
$ npx create-react-app storybook-project
$ cd storybook-project
# Add Storybook
$ npx sb init
설치가 완료되면 다음과 같은 디렉터리가 프로젝트 루트에 자동 생성된다.
- .storybook: Storybook 설정 파일이 포함되어 있다.
- src/stories: Storybook 예제 컴포넌트
다음 명령을 실행하면 Storybook 서버가 기동된다.
# Start the component explorer on port 6006:
$ npm run storybook
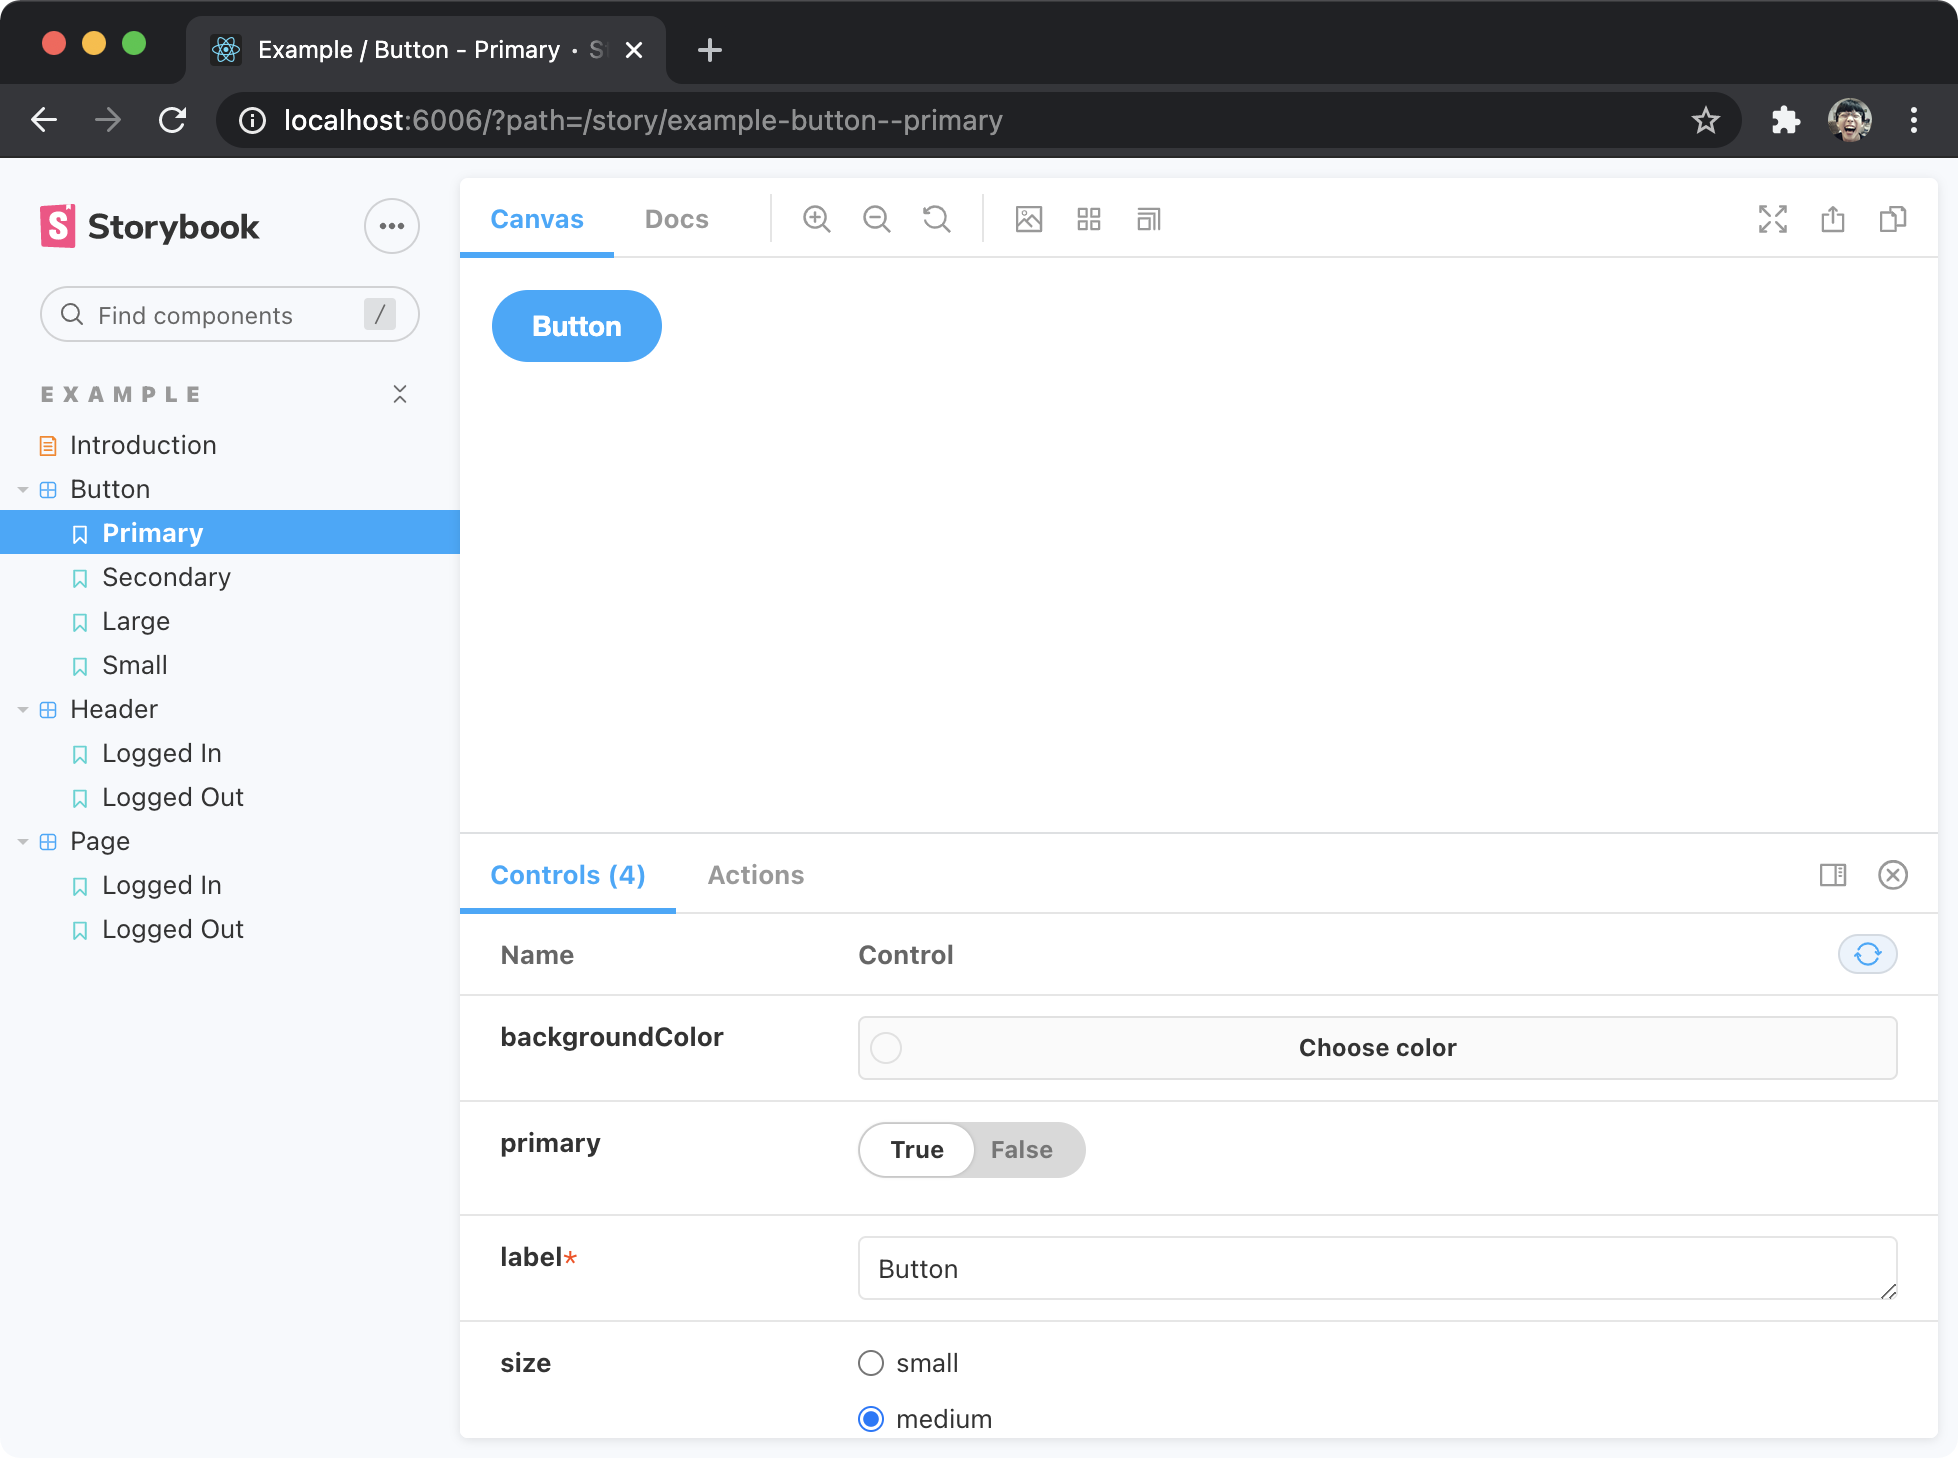
기동된 Storybook 서버는 각 Story가 실제 브라우저에서 어떻게 랜더링되는지 확인할 수 있는 컴포넌트 라이브러리 익스플로러를 제공한다.
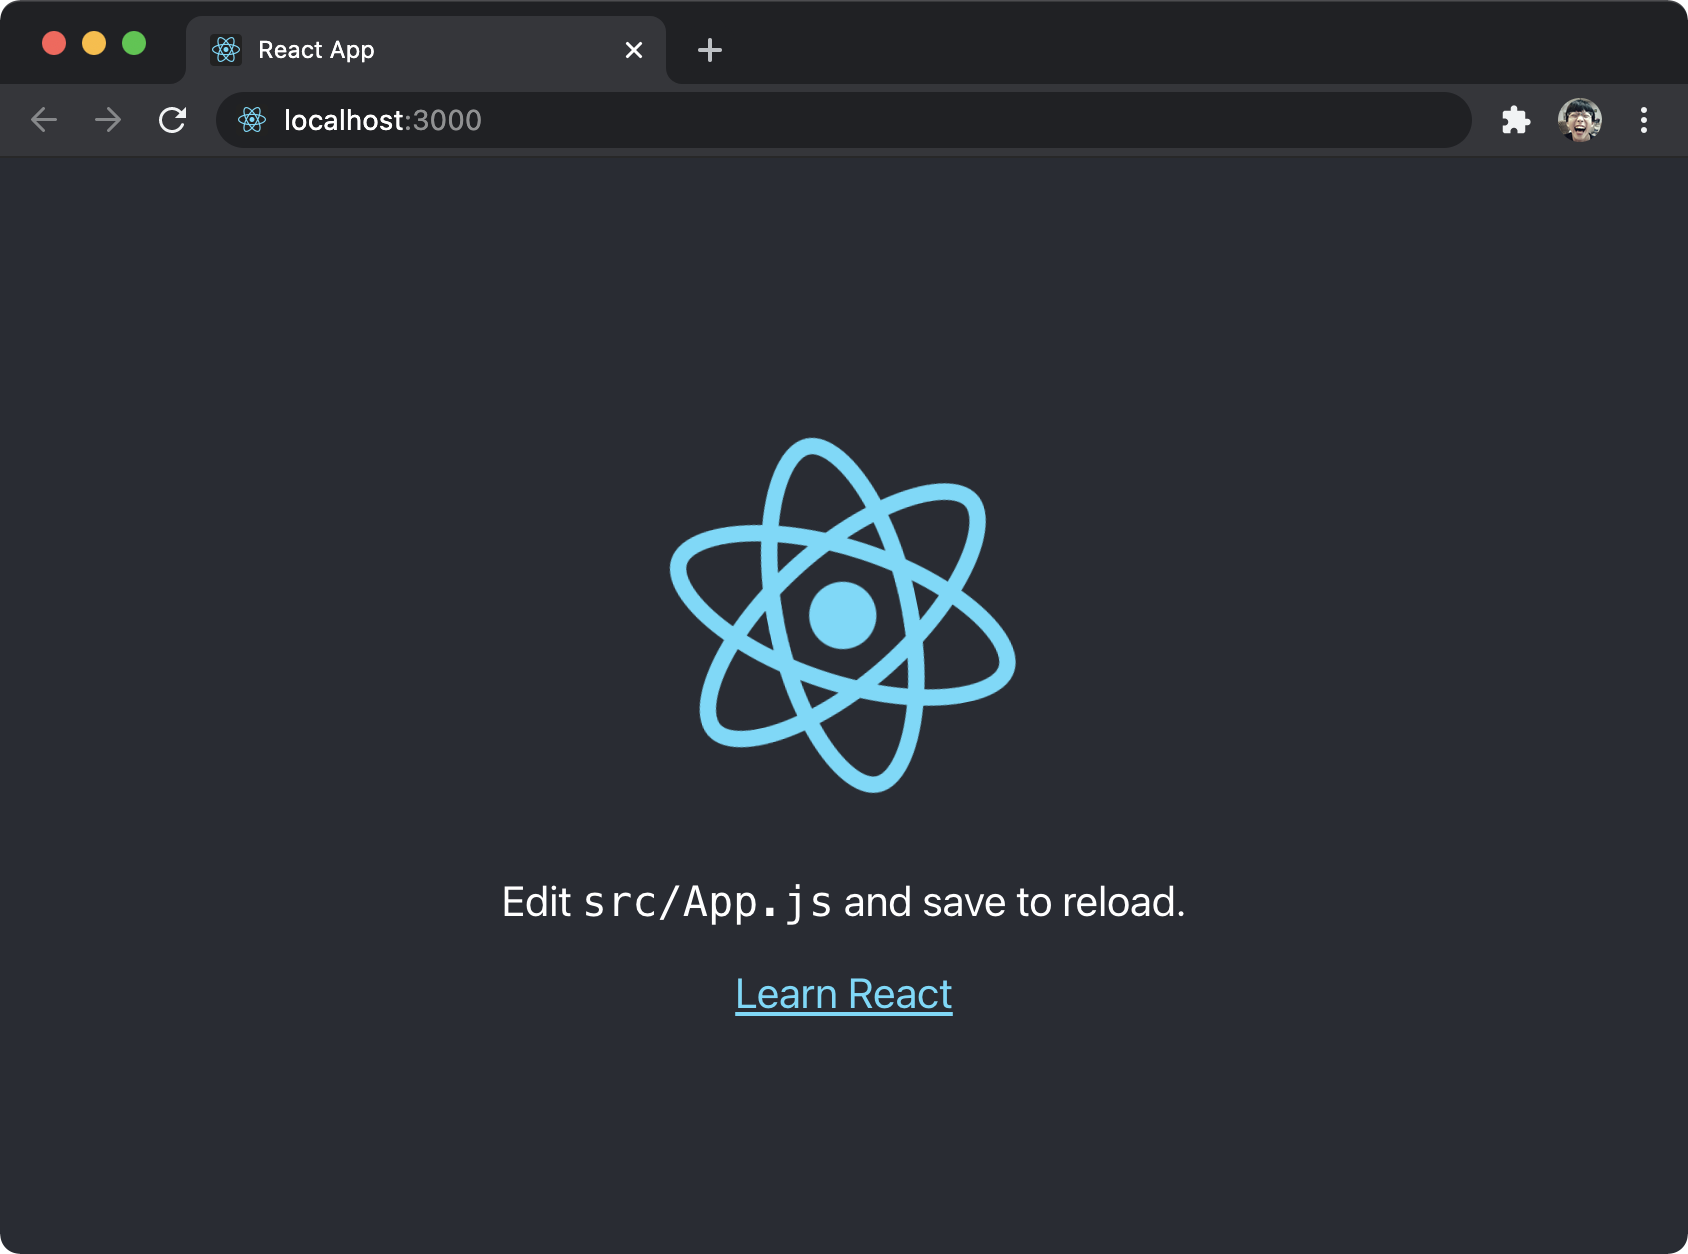
Storybook 서버는 프로젝트와는 별도로 제공되는 서버다. Storybook 서버가 아닌 실제 프로젝트를 기동시키려면 루트 디렉터리에 다음과 같이 .env 파일을 생성할 필요가 있다.
SKIP_PREFLIGHT_CHECK=true
다음 명령을 실행하면 실제 프로젝트가 기동된다.
$ npm start
1.2. Story 작성
Story는 Storybook을 구성하는 기본 구성 단위다. 컴포넌트는 기본적으로 하나 이상의 Story로 구성된다.
Story는 <컴포넌트이름>.stories.js 파일 안에 작성한다. 이 파일은 컴포넌트 파일과 같은 디렉토리 안에 작성한다.
Storybook-project/
├── src/
│   └── components/
│       ├── ...
│       ├── MyButton.js       # => Component
│       ├── MyButton.story.js # => Story
│       └── ...
Story 파일은 다음과 같이 컴포넌트 스토리 포맷(Component Story Format, CSF)을 default export해야 한다.
// src/stories/Button.story.js
import React from 'react';
import { Button } from './Button';

export default {
  title: 'Example/Button',
  component: Button,
  args: {
    backgroundColor: '#000'
  },
  argTypes: {
    backgroundColor: { control: 'color' },
  },
};
...
컴포넌트 스토리 포맷의 세부 내용은 다음과 같다.
| 프로퍼티 | 설명 |
|---|---|
| title | Storybook의 사이드바에 표시될 스토리 이름. /로 구분할 경우 그룹과 스토리 이름을 구분할 수 있다. 예를 들어, 위 예제의 title: 'Example/Button'은 Example 그룹의 Button 스토리로 표시된다. |
| component | 컴포넌트 |
| args | 모든 스토리에 공통으로 전달될 props. 예를 들어, 위 예제의 backgroundColor: '#000'는 모든 스토리 공통으로 컴포넌트에게 backgroundColor props를 전달한다. |
| argTypes | 각 Story args의 행동(behaviour) 방식 설정. 예를 들어, 위 예제의 backgroundColor: { control: 'color' }은 controls에서 선택한 컬러를 컴포넌트의 props로 전달하겠다는 의미다. |
| decorators | Story를 래핑하는 추가 렌더링 기능 |
| parameters | Story에 대한 정적 메타 데이터 정의 |
| excludeStories | 렌더링 제외 설정 |
스토리 작성에 관한 좀 더 자세한 내용은 How to write stories를 참조하기 바란다.
이제 간단한 컴포넌트와 Story를 작성해보자. 다음과 같이 Input 컴포넌트를 프로젝트의 src/components 디렉터리에 추가한다.
// src/components/Input.js
import React from 'react';
import { string, bool } from 'prop-types';
import './Input.css';

const Input = React.forwardRef(function Input(
  { id, label, placeholder, readonly, disabled, error, ...others },
  ref
) {
  return (
    <div>
      <label htmlFor={id}>{label}</label>
      <input
        id={id}
        type='text'
        placeholder={placeholder}
        readOnly={readonly}
        disabled={disabled}
        {...others}
        ref={ref}
      />
      {error && <div class='error'>{error}</div>}
    </div>
  );
});

export default Input;

Input.propTypes = {
  /** 아이디* */
  id: string.isRequired,
  /** 레이블* */
  label: string.isRequired,
  /** 플레이스홀더 */
  placeholder: string,
  /** 읽기전용 상태 */
  readonly: bool,
  /** 비활성 상태 */
  disabled: bool,
  /** 에러 메시지 */
  error: string
};
/* src/components/Input.css */
label {
  display: inline-block;
  margin-bottom: 0.5rem;
}

input {
  display: block;
  width: 100%;
  padding: 0.375rem 0.75rem;
  font-size: 1rem;
  font-weight: 400;
  line-height: 1.5;
  color: #212529;
  background-color: #fff;
  background-clip: padding-box;
  border: 1px solid #ced4da;
  appearance: none;
  border-radius: 0.25rem;
  transition: border-color 0.15s ease-in-out, box-shadow 0.15s ease-in-out;
}

.error {
  margin-top: 5px;
  font-size: 15px;
  color: #e52528;
}
컴포넌트가 위치한 디렉터리(src/components)에 Input.stories.js 파일을 생성한다.
// src/components/Input.stories.js
import React from 'react';
import Input from './Input';

export default {
  title: 'components/Form/Input',
  component: Input
};

const Template = args => <Input {...args} />;

// 스토리
export const UserId = Template.bind({});
UserId.args = {
  id: 'userid',
  label: '아이디',
  value: 'user@email.com',
  placeholder: '아이디로 사용할 이메일을 입력하세요.'
};
UserId.storyName = 'UserId(Default)';

export const Password = Template.bind({});
Password.args = {
  id: 'password',
  label: '패스워드',
  type: 'password',
  value: '1234',
  placeholder: '패스워드를 입력하세요.'
};
Password.storyName = 'Password';

export const UserIdError = Template.bind({});
UserIdError.args = {
  id: 'userid',
  label: '아이디',
  value: 'user@email.',
  placeholder: '아이디로 사용할 이메일을 입력하세요.',
  error: '아이디(이메일)는 이메일 형식으로 입력해주세요.'
};
UserIdError.storyName = 'Password(Error)';
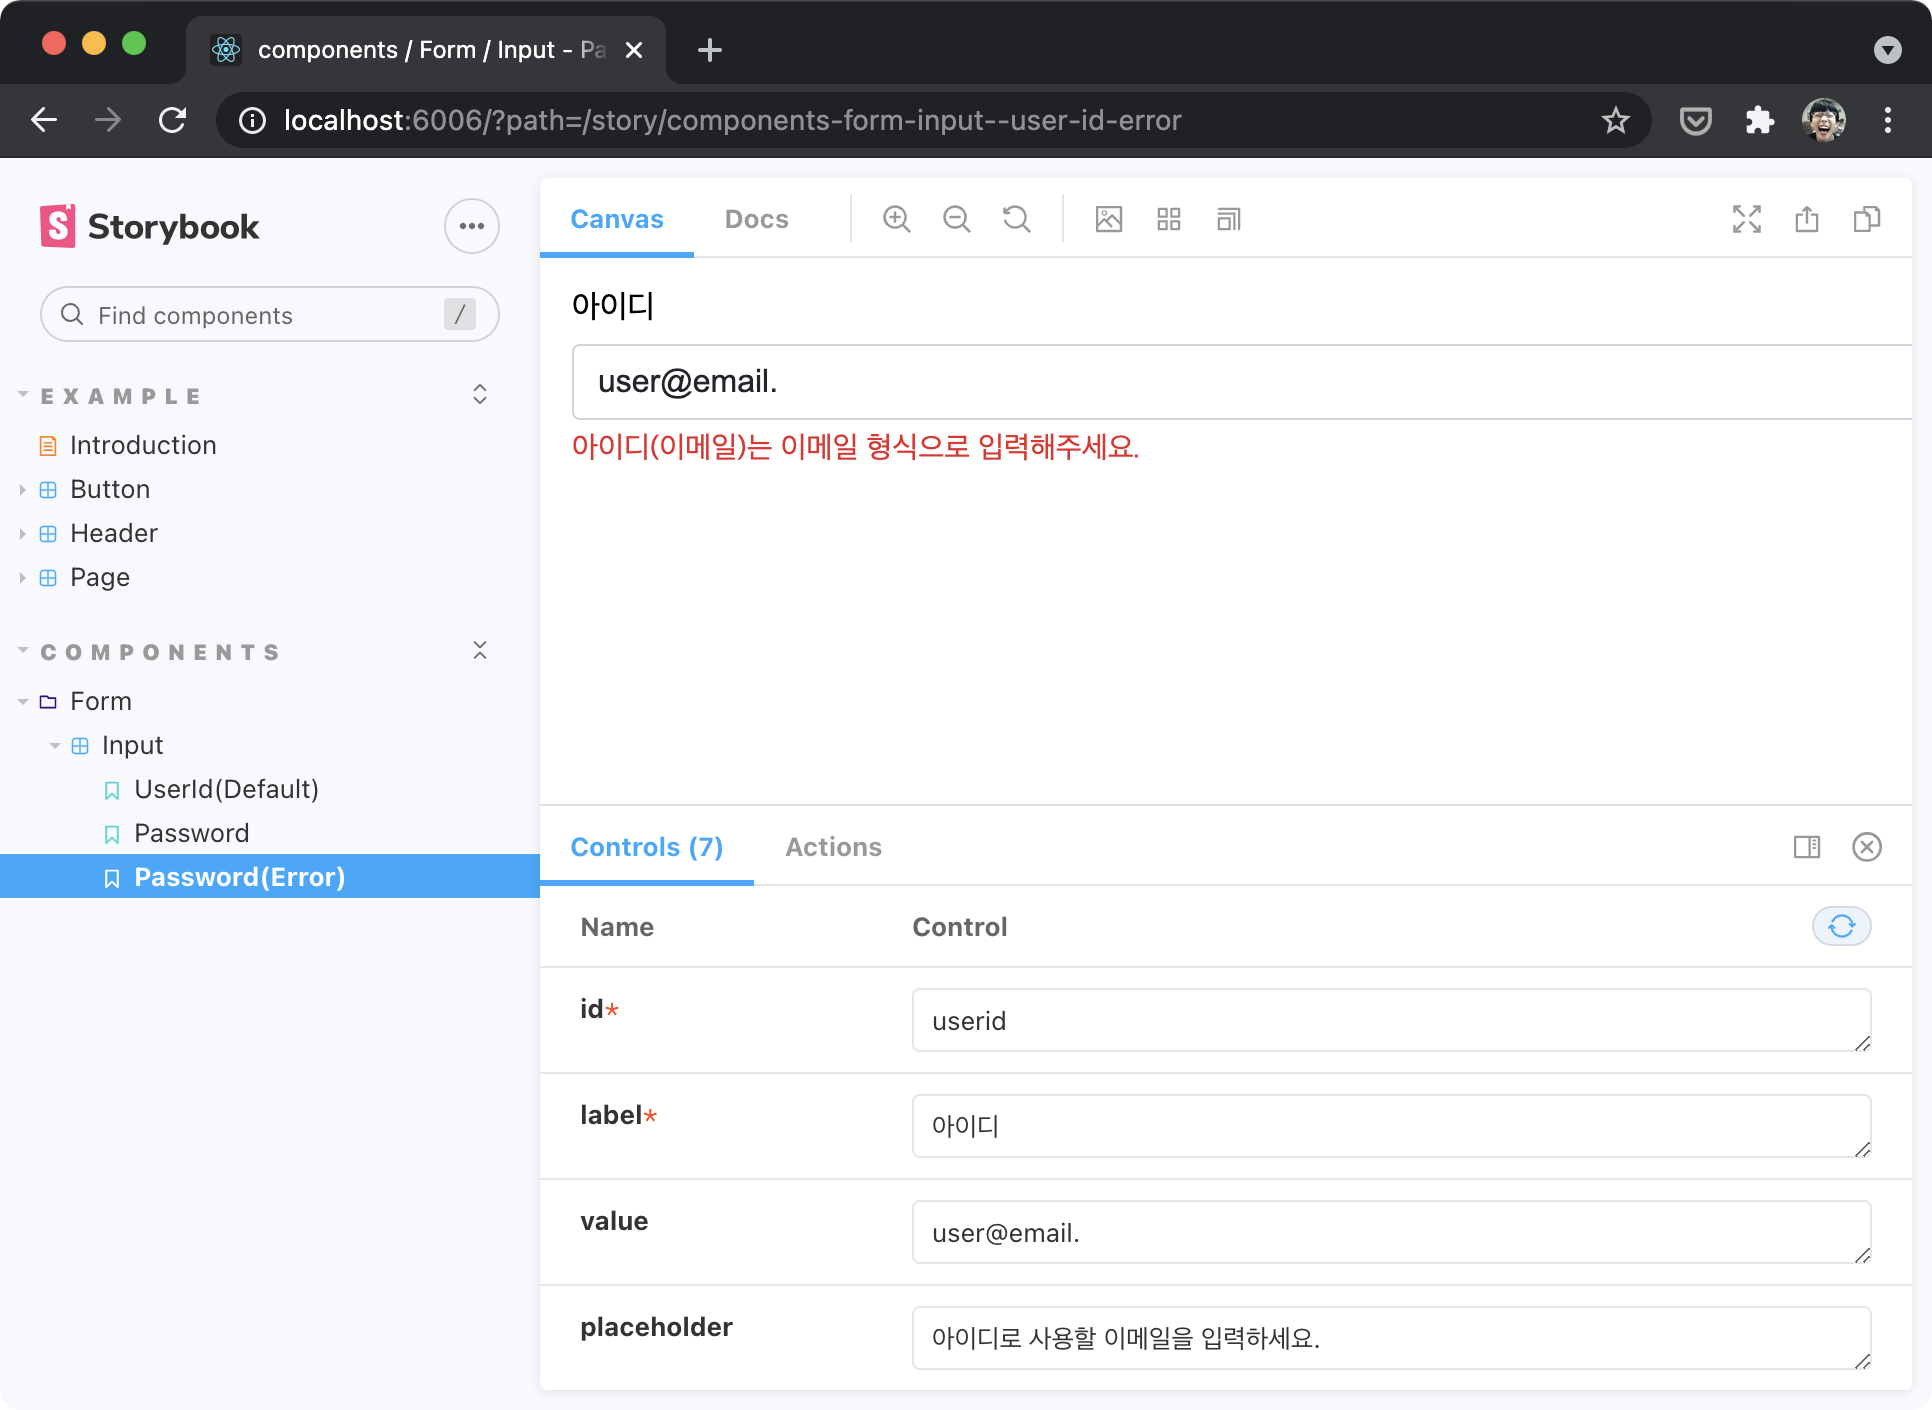
다음과 같이 Storybook에 스토리가 추가된 것을 확인할 수 있다.
만약 src/components 디렉터리에 있는 컴포넌트만을 Storybook으로 관리하려면 .storybook/main.js의 stories를 다음과 같이 수정한다.
// .storybook/main.js
module.exports = {
  "stories": [
    // "../src/**/*.stories.mdx",
    // "../src/**/*.stories.@(js|jsx|ts|tsx)"
    '../src/components/**/*.stories.js'
  ],
  "addons": [
    "@storybook/addon-links",
    "@storybook/addon-essentials",
    "@storybook/preset-create-react-app"
  ]
}
2. HTML 프로젝트
2.1. Storybook 설치
다음과 같이 HTML 프로젝트를 생성하면서 Storybook 설치해보자.
# Create our application:
$ mkdir html-storybook-project && cd html-orybook-project

# Add Storybook:
$ npx -p @storybook/cli sb init --type html
다음 명령을 실행하면 Storybook 서버가 기동된다.
# Start the component explorer on port 6006:
$ npm run storybook
storybook을 설치하면 webpack을 설치하는데 설치된 webpack 5버전이 설치되면 다음과 같은 에러가 발생한다.
$ npm run storybook

> storybook
> start-storybook -p 6006

info @storybook/html v6.1.11
info
info => Using prebuilt manager
info => Loading presets
info => Loading 1 config file in "./.storybook"
info => Loading 7 other files in "./.storybook"
info => Adding stories defined in ".storybook/main.js"
info => Using default Webpack setup
10% building 1/1 modules 0 active/Users/ungmo2/Desktop/@poiemaweb/html-ui/node_modules/html-webpack-plugin/lib/webpack5/file-watcher-api.js:13
    mainCompilation.fileSystemInfo.createSnapshot(
                                   ^

TypeError: Cannot read property 'createSnapshot' of undefined
    at /Users/ungmo2/Desktop/@poiemaweb/html-ui/node_modules/html-webpack-plugin/lib/webpack5/file-watcher-api.js:13:36
    at new Promise (<anonymous>)
    at Object.createSnapshot (/Users/ungmo2/Desktop/@poiemaweb/html-ui/node_modules/html-webpack-plugin/lib/webpack5/file-watcher-api.js:12:10)
    at /Users/ungmo2/Desktop/@poiemaweb/html-ui/node_modules/html-webpack-plugin/lib/cached-child-compiler.js:219:35
npm ERR! code 1
npm ERR! path /Users/ungmo2/Desktop/@poiemaweb/html-ui
npm ERR! command failed
npm ERR! command sh -c start-storybook -p 6006
webpack5를 위해 html-webpack-plugin@next를 설치해야 한다.
$ npm i --save-dev html-webpack-plugin@next

npm ERR! code ERESOLVE
npm ERR! ERESOLVE unable to resolve dependency tree
npm ERR!
npm ERR! Found: html-webpack-plugin@4.5.1
npm ERR! node_modules/html-webpack-plugin
npm ERR!   dev html-webpack-plugin@"5.0.0-beta.4" from the root project
npm ERR!
npm ERR! Could not resolve dependency:
npm ERR! dev html-webpack-plugin@"5.0.0-beta.4" from the root project
npm ERR!
npm ERR! Fix the upstream dependency conflict, or retry
npm ERR! this command with --force, or --legacy-peer-deps
npm ERR! to accept an incorrect (and potentially broken) dependency resolution.
npm ERR!
npm ERR! See /Users/ungmo2/.npm/eresolve-report.txt for a full report.
위와 같이 에러가 발생하면 node_modules 디렉터리와 package-lock.json 파일을 제거한 후 다음과 같이 재설치한다.
$ npm i --save-dev html-webpack-plugin@next
$ npm i
설치가 완료되면 다음과 같은 디렉터리가 프로젝트 루트에 생성된다.
- .storybook: Storybook 설정 파일이 포함되어 있다.
- src/stories: Storybook 예제 컴포넌트
다음 명령을 실행하면 Storybook 서버가 기동된다.
$ npm run storybook