- 1. Heroku account 취득
- 2. Node.js & npm install 확인
- 3. Heroku CLI 설치
- 4. Heroku 로그인
- 5. sample app의 준비
- 6. Deploy App
- 7. Procfile
- 8. local 환경에서의 Code의 수정과 Heroku에의 Deploy
- 9. GitHub Integration
- 10. Add-on 설치
- 11. Database 설치
- Reference
![]()
Heroku는 AWS의 IaaS 상에 구축된 PaaS이다. Git로 deploy가 가능하며 Web app 개발에서 공개까지 간단히 사용할 수 있는 Platform이다.
소규모 사이트나 개인 블로그 정도는 충분히 무료로 사용할 수 있는 공간이 주어진다.
1. Heroku account 취득
Heroku에서 sign up을 실시하여 account를 취득한다.
2. Node.js & npm install 확인
node.js와 npm, git가 사전에 install되어 있어야 한다. install 여부를 확인한다.
$ node -v
v6.9.4
$ npm -v
4.2.0
$ git --version
git version 2.6.4 (Apple Git-63)
3. Heroku CLI 설치
Heroku CLI(a.k.a. Heroku Toolbelt)는 command line/shell에서 Heroku 애플리케이션을 생성하고 관리할 수 있는 도구이다.
자신의 사양에 맞는 Heroku CLI를 설치한다.
4. Heroku 로그인
터미널에서 Heroku에 로그인한다.
$ heroku login
Enter your Heroku credentials.
Email: ungmo2@gmail.com
Password (typing will be hidden):
Logged in as ungmo2@gmail.com
5. sample app의 준비
Sample app을 clone한다. app의 이름은 나중에 수정이 가능하므로 지금은 heroku-express-example이라는 이름의 app을 생성한다.
$ git clone https://github.com/heroku/node-js-getting-started.git heroku-express-example
$ cd heroku-express-example
$ ls -al
total 56
drwxr-xr-x  12 leeungmo  staff   408  2 24 00:23 .
drwxr-xr-x+ 71 leeungmo  staff  2414  2 24 00:23 ..
-rw-r--r--   1 leeungmo  staff     8  2 24 00:23 .env
drwxr-xr-x  13 leeungmo  staff   442  2 24 00:23 .git
-rw-r--r--   1 leeungmo  staff   133  2 24 00:23 .gitignore
-rw-r--r--   1 leeungmo  staff    19  2 24 00:23 Procfile
-rw-r--r--   1 leeungmo  staff  1371  2 24 00:23 README.md
-rw-r--r--   1 leeungmo  staff   301  2 24 00:23 app.json
-rw-r--r--   1 leeungmo  staff   460  2 24 00:23 index.js
-rw-r--r--   1 leeungmo  staff   485  2 24 00:23 package.json
drwxr-xr-x   5 leeungmo  staff   170  2 24 00:23 public
drwxr-xr-x   4 leeungmo  staff   136  2 24 00:23 views
6. Deploy App
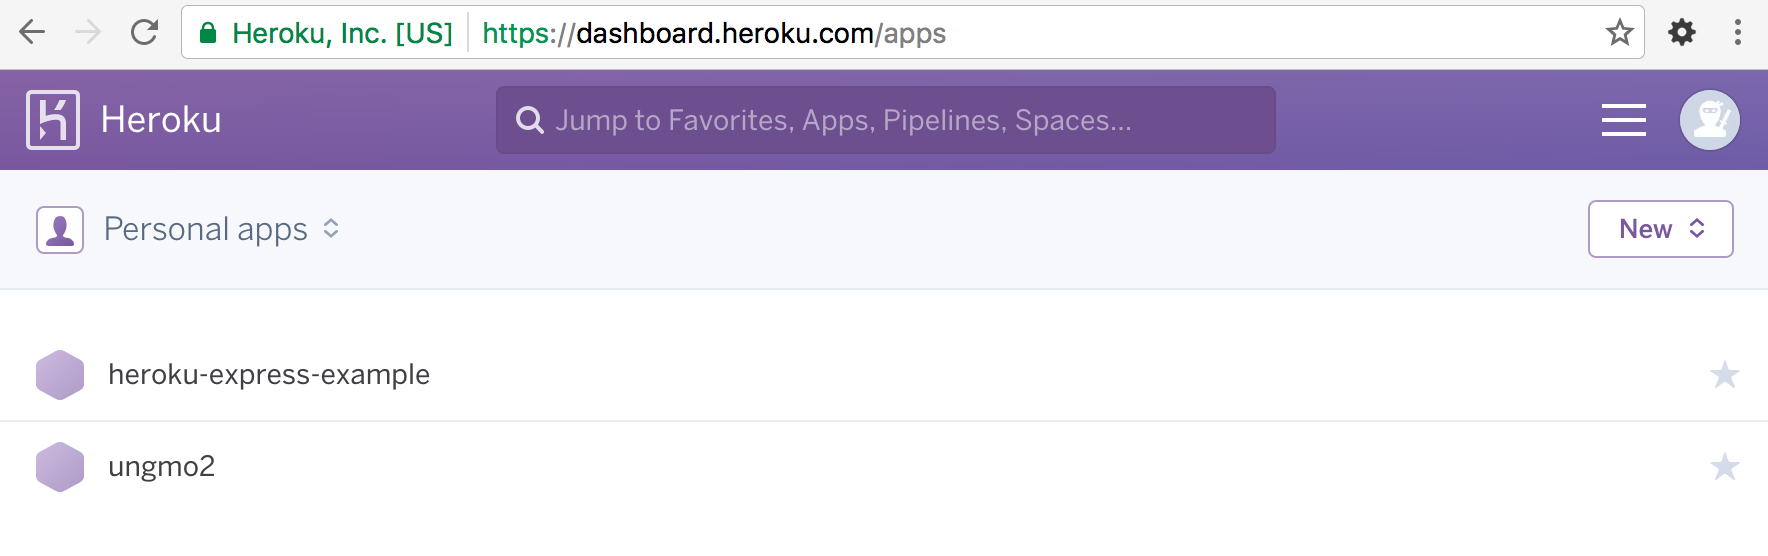
app을 Heroku에 생성한다. app의 이름을 지정하지 않으면 random한 이름이 자동으로 생성된다.
$ heroku create heroku-express-example
Creating ⬢ heroku-express-example... done
https://heroku-express-example.herokuapp.com/ | https://git.heroku.com/heroku-express-example.git
이제 app이 Heroku에 생성되었고 Heroku와 로컬 git 저장소는 연결된다.
이때 .git/config 파일에 아래 내용이 추가된다.
[remote "heroku"]
	url = https://git.heroku.com/heroku-express-example.git
	fetch = +refs/heads/*:refs/remotes/heroku/*
Sample app을 Heroku로 push한다. 이것이 바로 deploy이다.
$ git push heroku master
Counting objects: 456, done.
Delta compression using up to 4 threads.
Compressing objects: 100% (5/5), done.
Writing objects: 100% (6/6), 695 bytes | 0 bytes/s, done.
Total 6 (delta 0), reused 0 (delta 0)
remote: Compressing source files... done.
remote: Building source:
remote:
remote: -----> Node.js app detected
remote:
remote: -----> Creating runtime environment
remote:
remote:        NPM_CONFIG_LOGLEVEL=error
remote:        NPM_CONFIG_PRODUCTION=true
remote:        NODE_ENV=production
remote:        NODE_MODULES_CACHE=true
remote:
remote: -----> Installing binaries
remote:        engines.node (package.json):  unspecified
remote:        engines.npm (package.json):   unspecified (use default)
remote:
remote:        Resolving node version (latest stable) via semver.io...
remote:        Downloading and installing node 5.11.1...
remote:        Using default npm version: 3.8.6
remote:
remote: -----> Restoring cache
remote:        Skipping cache restore (new runtime signature)
remote:
remote: -----> Building dependencies
remote:        Installing node modules (package.json)
remote:        express-skeletion@0.0.1 /tmp/build_08cf53544f91bec4bcfe881762701b40
remote:        └─┬ express@4.14.0
remote:        ├─┬ accepts@1.3.3
remote:        │ ├─┬ mime-types@2.1.11
remote:        │ │ └── mime-db@1.23.0
remote:        │ └── negotiator@0.6.1
remote:        ├── array-flatten@1.1.1
remote:        ├── content-disposition@0.5.1
remote:        ├── content-type@1.0.2
remote:        ├── cookie@0.3.1
remote:        ├── cookie-signature@1.0.6
remote:        ├─┬ debug@2.2.0
remote:        │ └── ms@0.7.1
remote:        ├── depd@1.1.0
remote:        ├── encodeurl@1.0.1
remote:        ├── escape-html@1.0.3
remote:        ├── etag@1.7.0
remote:        ├─┬ finalhandler@0.5.0
remote:        │ ├── statuses@1.3.0
remote:        │ └── unpipe@1.0.0
remote:        ├── fresh@0.3.0
remote:        ├── merge-descriptors@1.0.1
remote:        ├── methods@1.1.2
remote:        ├─┬ on-finished@2.3.0
remote:        │ └── ee-first@1.1.1
remote:        ├── parseurl@1.3.1
remote:        ├── path-to-regexp@0.1.7
remote:        ├─┬ proxy-addr@1.1.2
remote:        │ ├── forwarded@0.1.0
remote:        │ └── ipaddr.js@1.1.1
remote:        ├── qs@6.2.0
remote:        ├── range-parser@1.2.0
remote:        ├─┬ send@0.14.1
remote:        │ ├── destroy@1.0.4
remote:        │ ├─┬ http-errors@1.5.0
remote:        │ │ ├── inherits@2.0.1
remote:        │ │ └── setprototypeof@1.0.1
remote:        │ └── mime@1.3.4
remote:        ├── serve-static@1.11.1
remote:        ├─┬ type-is@1.6.13
remote:        │ └── media-typer@0.3.0
remote:        ├── utils-merge@1.0.0
remote:        └── vary@1.1.0
remote:
remote:
remote: -----> Caching build
remote:        Clearing previous node cache
remote:        Saving 2 cacheDirectories (default):
remote:        - node_modules
remote:        - bower_components (nothing to cache)
remote:
remote: -----> Build succeeded!
remote:        └── express@4.14.0
remote:
remote: -----> Discovering process types
remote:        Procfile declares types -> web
remote:
remote: -----> Compressing...
remote:        Done: 12.1M
remote: -----> Launching...
remote:        Released v3
remote:        https://heroku-express-example.herokuapp.com/ deployed to Heroku
remote:
remote: Verifying deploy... done.
To https://git.heroku.com/heroku-express-example.git
 * [new branch]      master -> master
app이 deploy되었다. deploy될 때 package.json의 dependency가 자동으로 install된다.
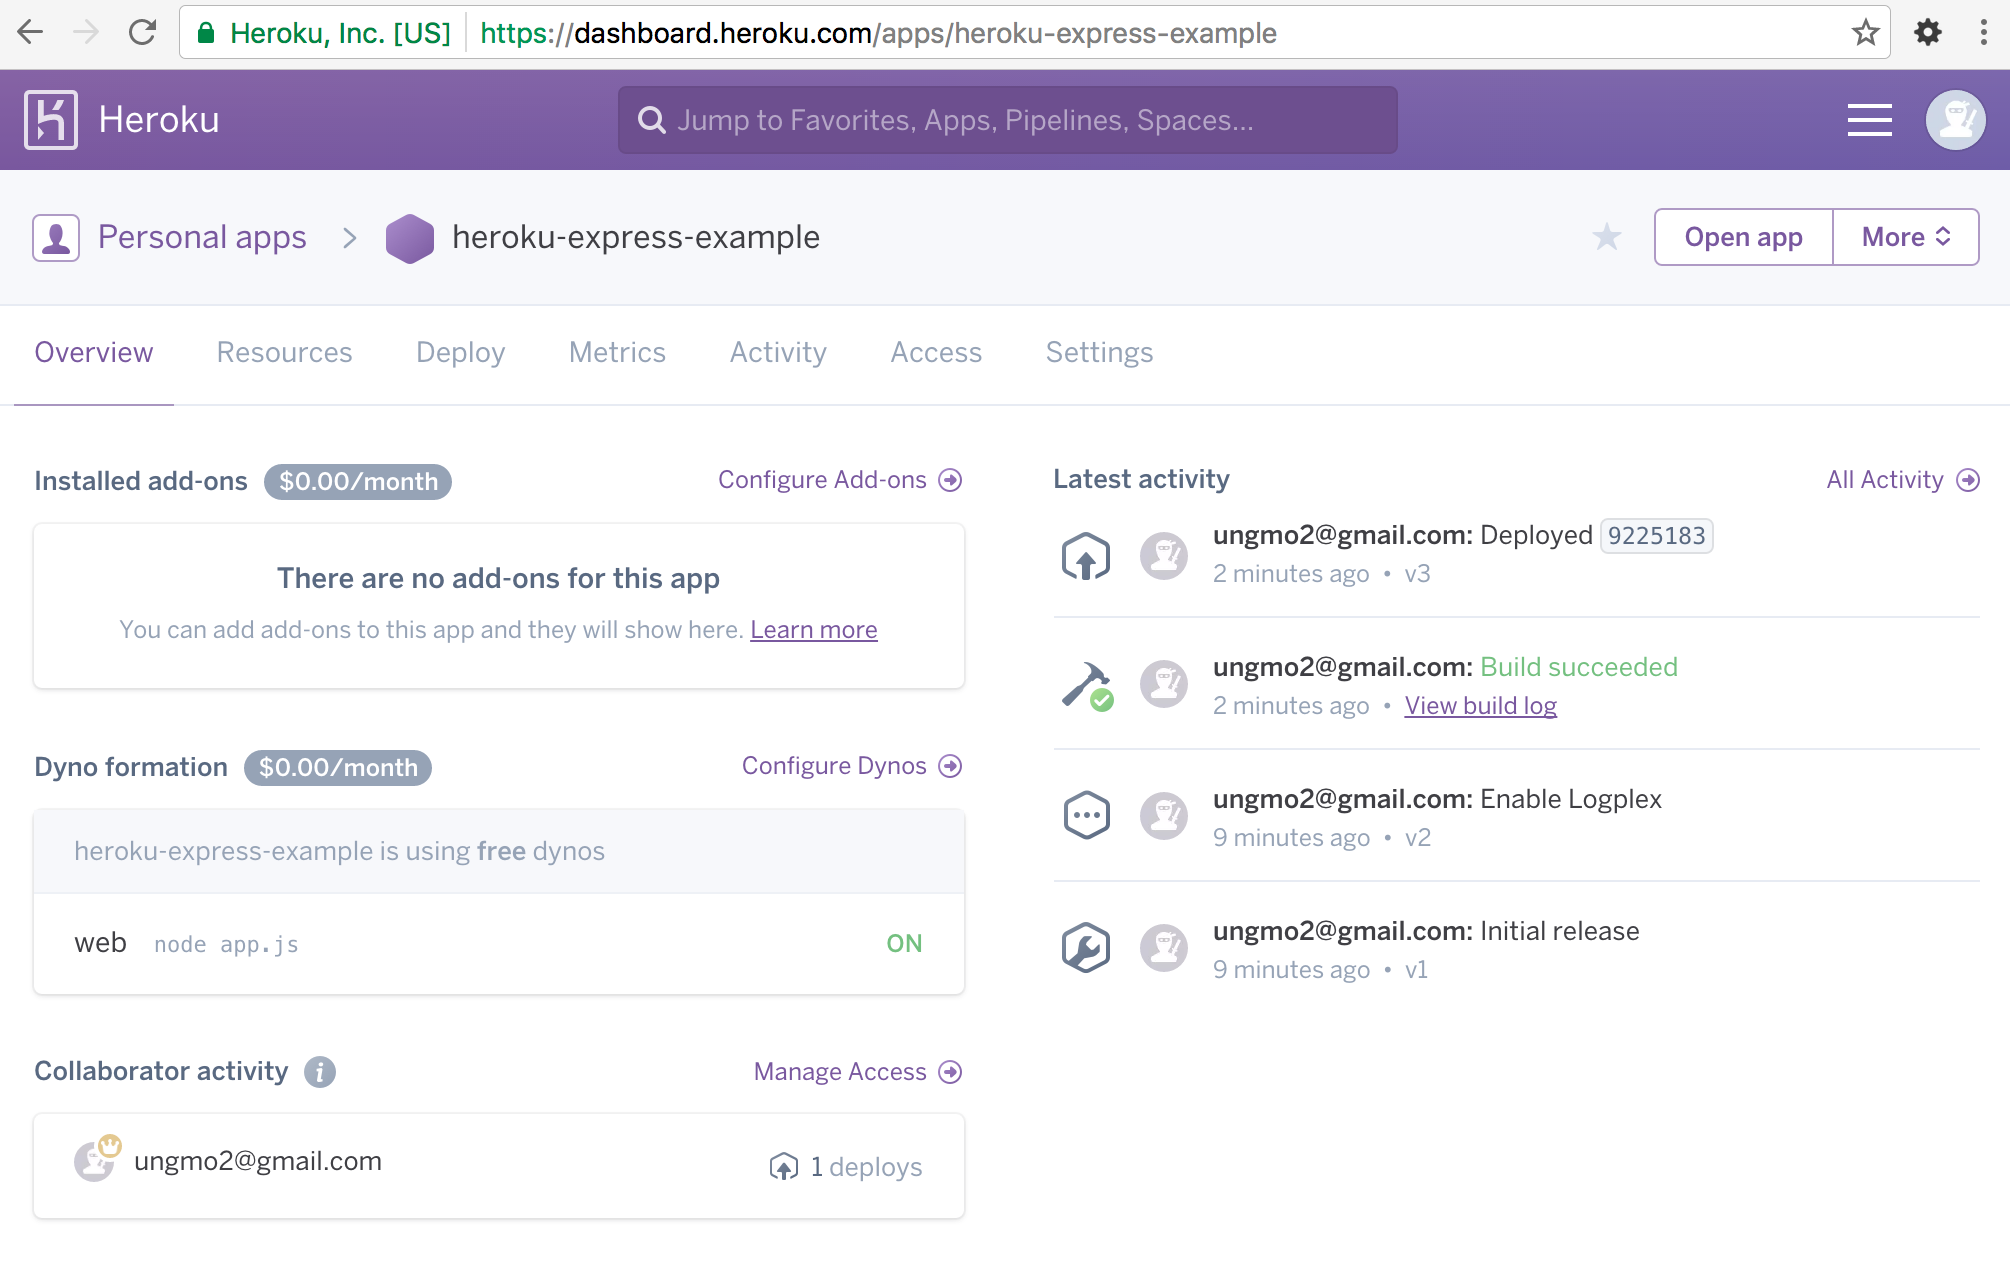
instance가 동작하고 있지 않으면 다음 명령어로 기동시킨다.
$ heroku ps:scale web=1
Scaling dynos... done, now running web at 1:Free
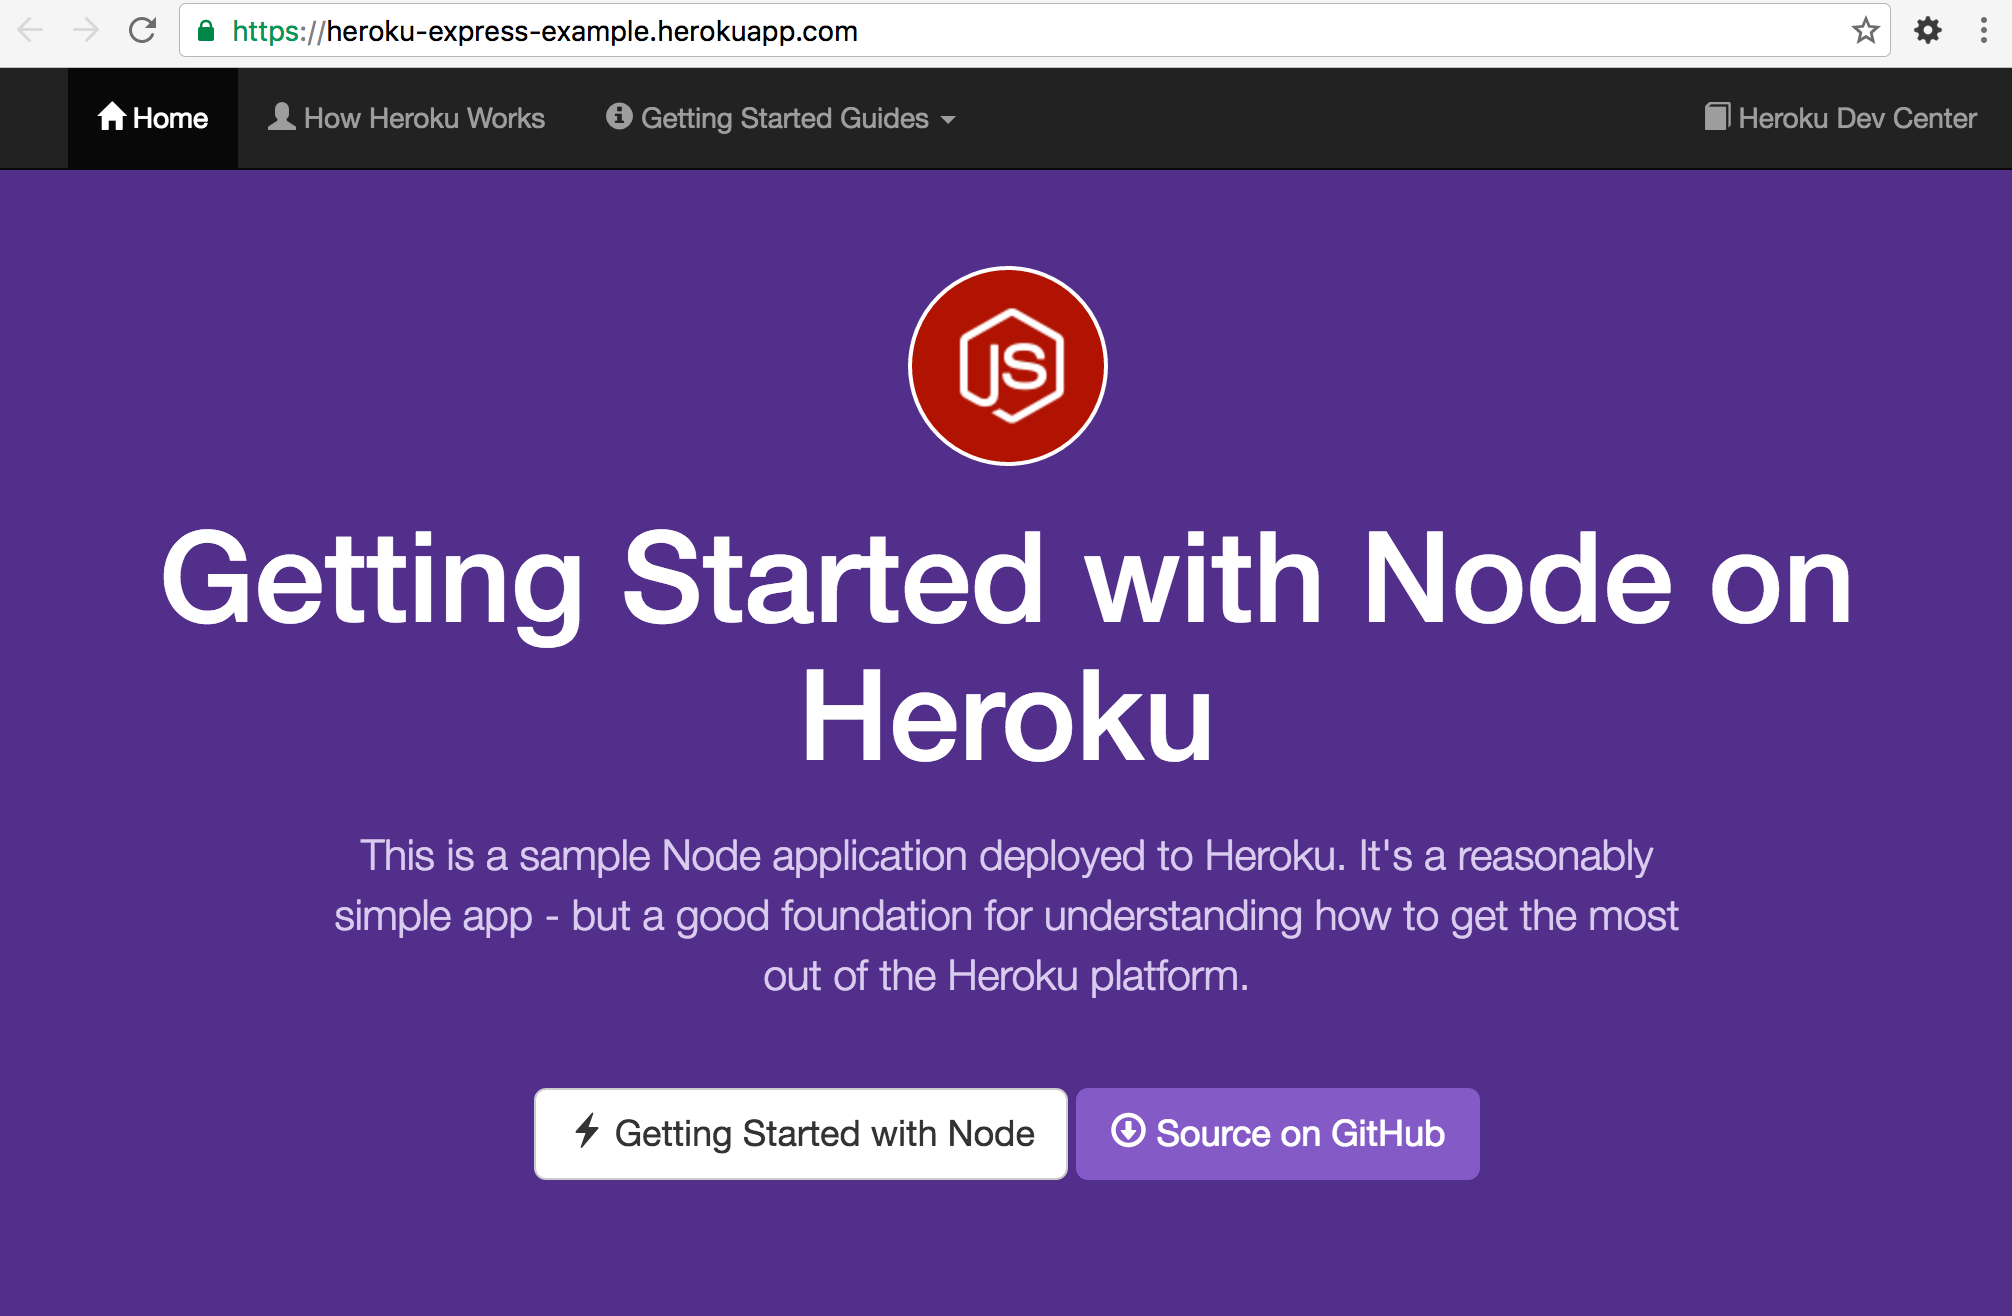
이제 생성된 app이 동작하는 URL으로 방문하여 동작을 확인한다. 또는 아래의 명령어로 방문할 수 있다.
$ heroku open
log를 확인하는 방법은 아래와 같다.
$ heroku logs --tail
7. Procfile
루트 디렉터리에 있는 Procfile에는 app이 start할 때 실행하여야 하는 동작을 명시적으로 정의한다.
web: node index.js
web은 process type을 의미한다.
8. local 환경에서의 Code의 수정과 Heroku에의 Deploy
8.1 local 환경 구축
local 환경에서 code를 수정하고 local 환경에서 app을 기동하여 수정사항을 확인한 후 Heroku에 수정사항을 반영한다.
local 환경을 구축하기 위하여 필요에 따라 pakage.json의 dependency 설정을 변경하고 local 환경에 필요 dependency를 설치한다.
{
  "name": "node-js-getting-started",
  "version": "0.2.5",
  ...
  "engines": {
    "node": "5.9.1"
  },
  "dependencies": {
    "ejs": "2.4.1",
    "express": "4.13.3"
  },
  ...
}
$ cd heroku-express-example
$ npm install
heroku local command를 사용하여 local에서 app을 기동한다.
$ heroku local web
[OKAY] Loaded ENV .env File as KEY=VALUE Format
17:15:52 web.1   |  Node app is running on port 5000
반드시 heroku 명령어를 사용해야 하는 것은 아니다. 아래와 같이 일반적인 방법도 가능하다.
$ npm start
브라우저에서 http://localhost:5000으로 접속하여 local 환경에서 app이 실행되었음을 확인한다.
8.2 Code의 수정
code를 수정한다.
cool-ascii-faces를 install한다.
$ npm install --save --save-exact cool-ascii-faces
index.js를 아래와 같이 수정한다. ool-ascii-faces를 require하고 /cool 라우트를 추가한다.
var cool = require('cool-ascii-faces');
var express = require('express');
var app = express();

app.set('port', (process.env.PORT || 5000));

app.use(express.static(__dirname + '/public'));

// views is directory for all template files
app.set('views', __dirname + '/views');
app.set('view engine', 'ejs');

app.get('/', function(request, response) {
  response.render('pages/index')
});

app.get('/cool', function(request, response) {
  response.send(cool());
});

app.listen(app.get('port'), function() {
  console.log('Node app is running on port', app.get('port'));
});
$ npm install
$ heroku local web
브라우저에서 http://localhost:5000/cool으로 접속하여 local 환경에서 app이 실행되었음을 확인한다.
( ⚆ _ ⚆ )
8.3 Heroku에의 Deploy
먼저 모든 파일을 local git에 추가한다.
$ git add .
수정사항을 repository에 commit한다.
$ git commit -m "Demo"
heroku master에 git push한다.
$ git push heroku master
$ git push origin master
app을 실행시켜서 정상 작동됨을 확인한다.
$ heroku open cool
9. GitHub Integration
github와 연동하여 heroku에 수정사항을 반영할 수 있다.
Heroku Dashboard의 Deploy 탭으로 이동한다.
Deployment method에서 GitHub를 선택한다.
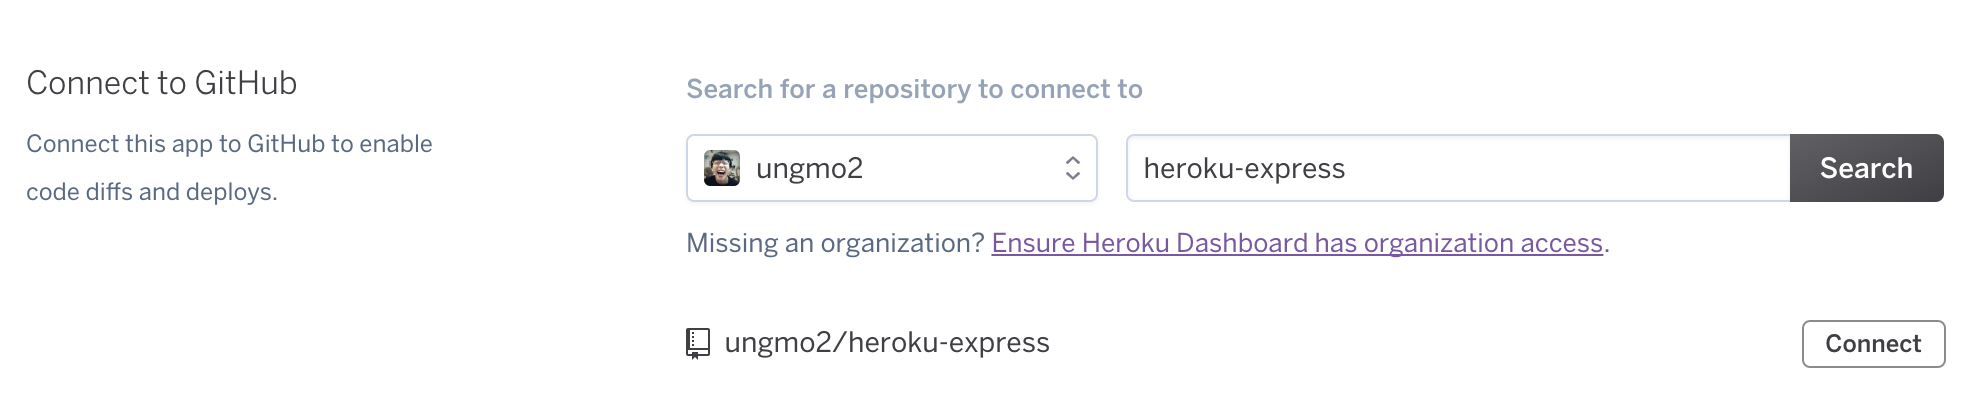
Connect to GitHub에 자신의 github repository를 등록한다.
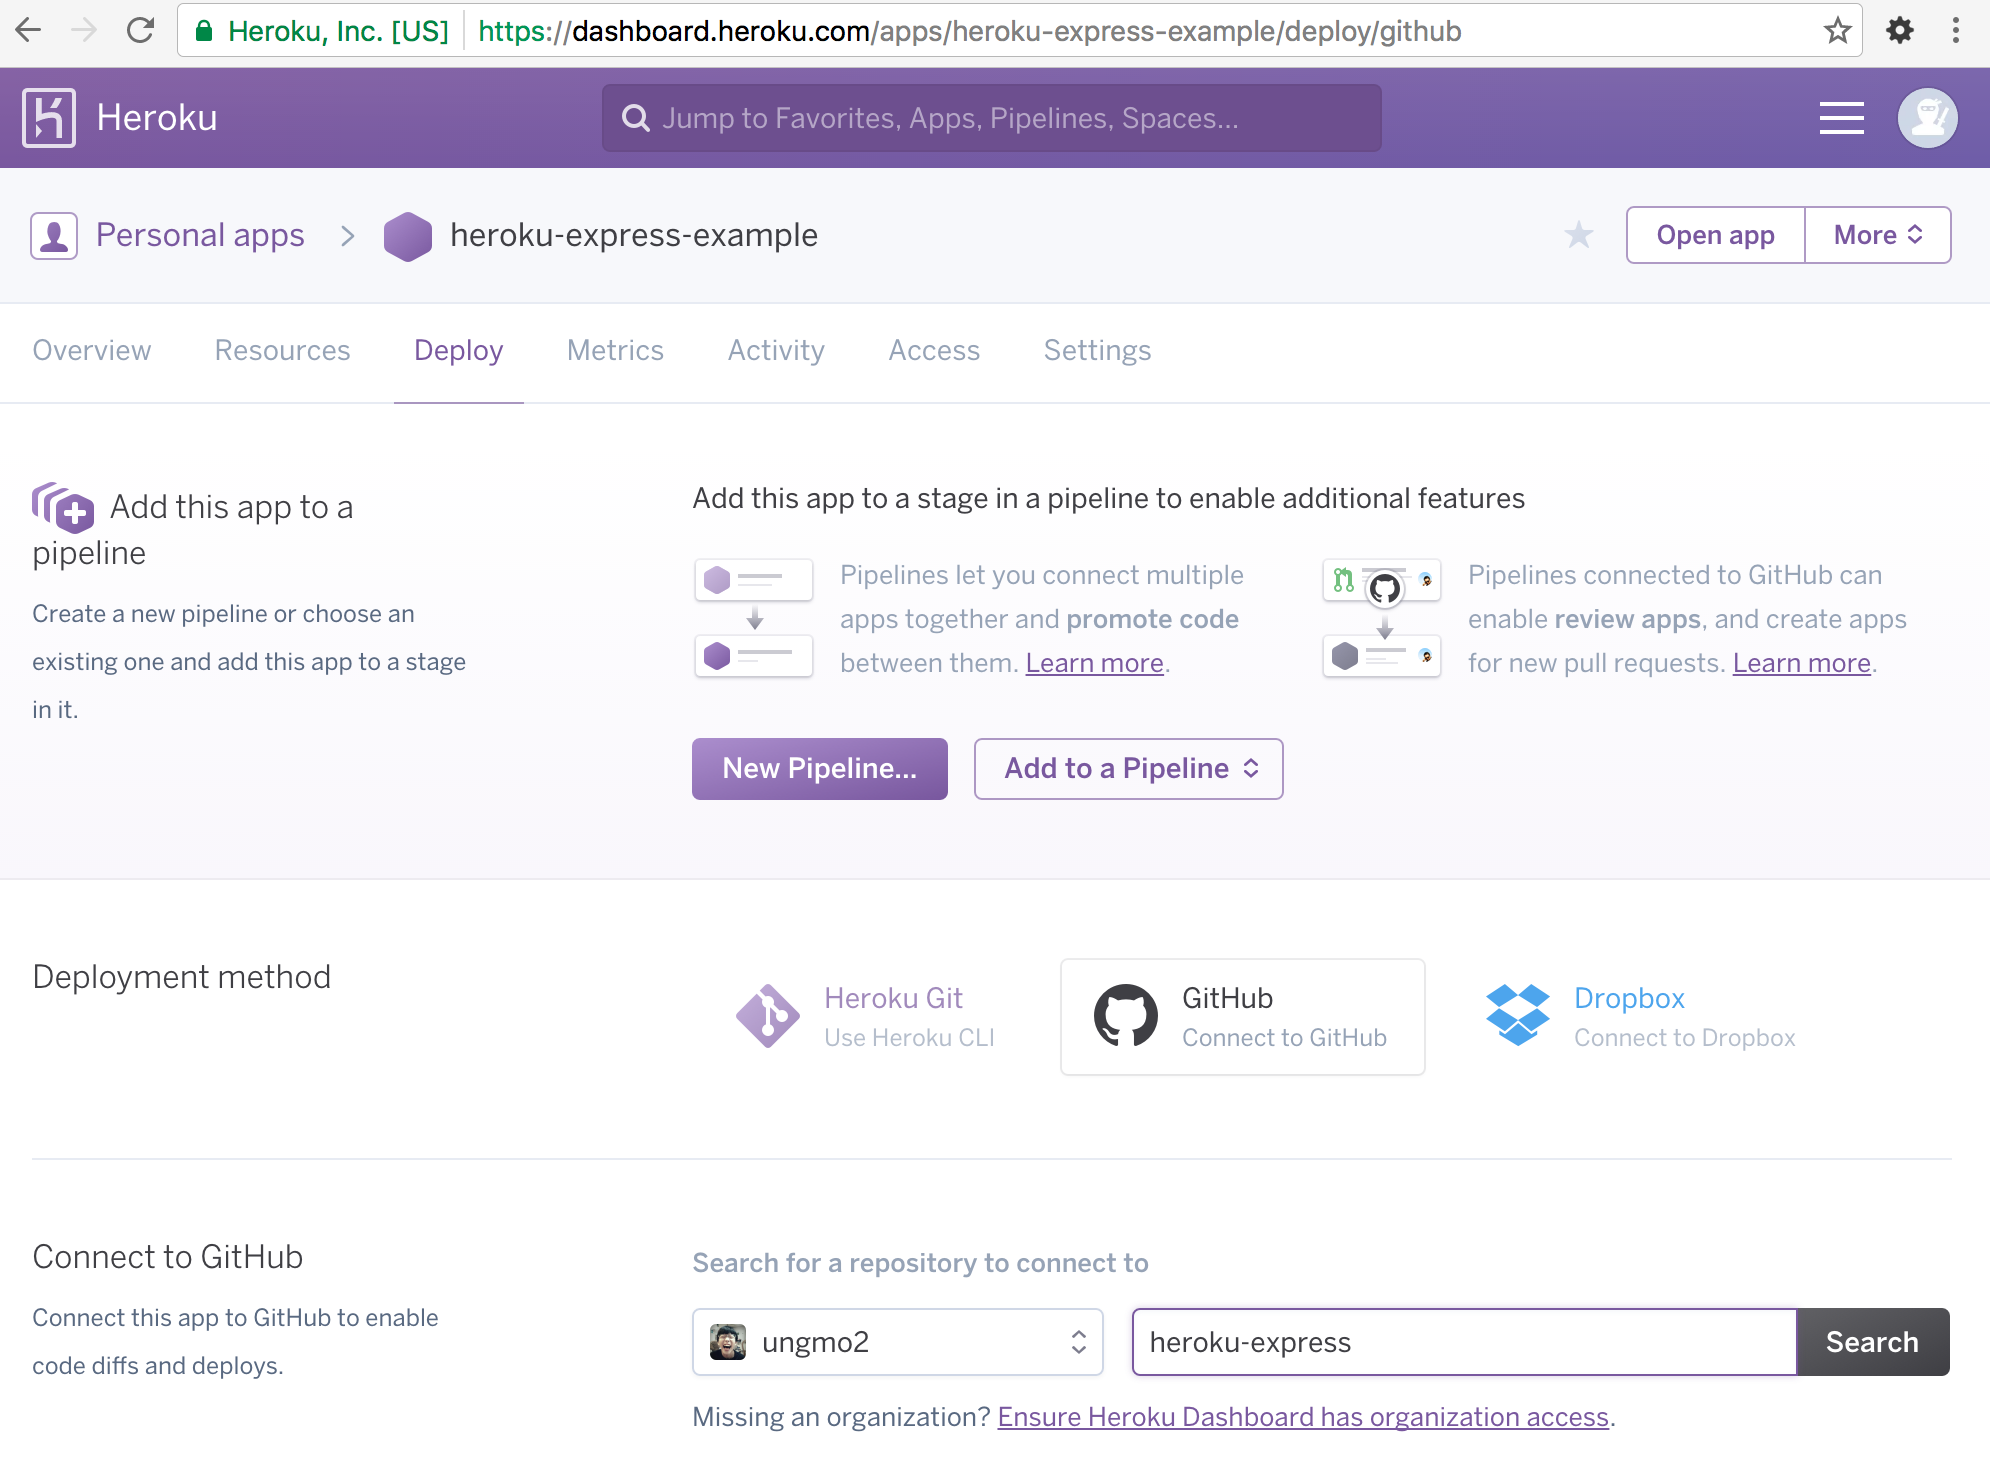
Connect to GitHub의 Search 버튼을 클릭하여 github repository를 등록한 후 Connect 버튼을 클릭한다.
Automatic deploys에서 Enable Automatic Deploys 버튼을 클릭한다.
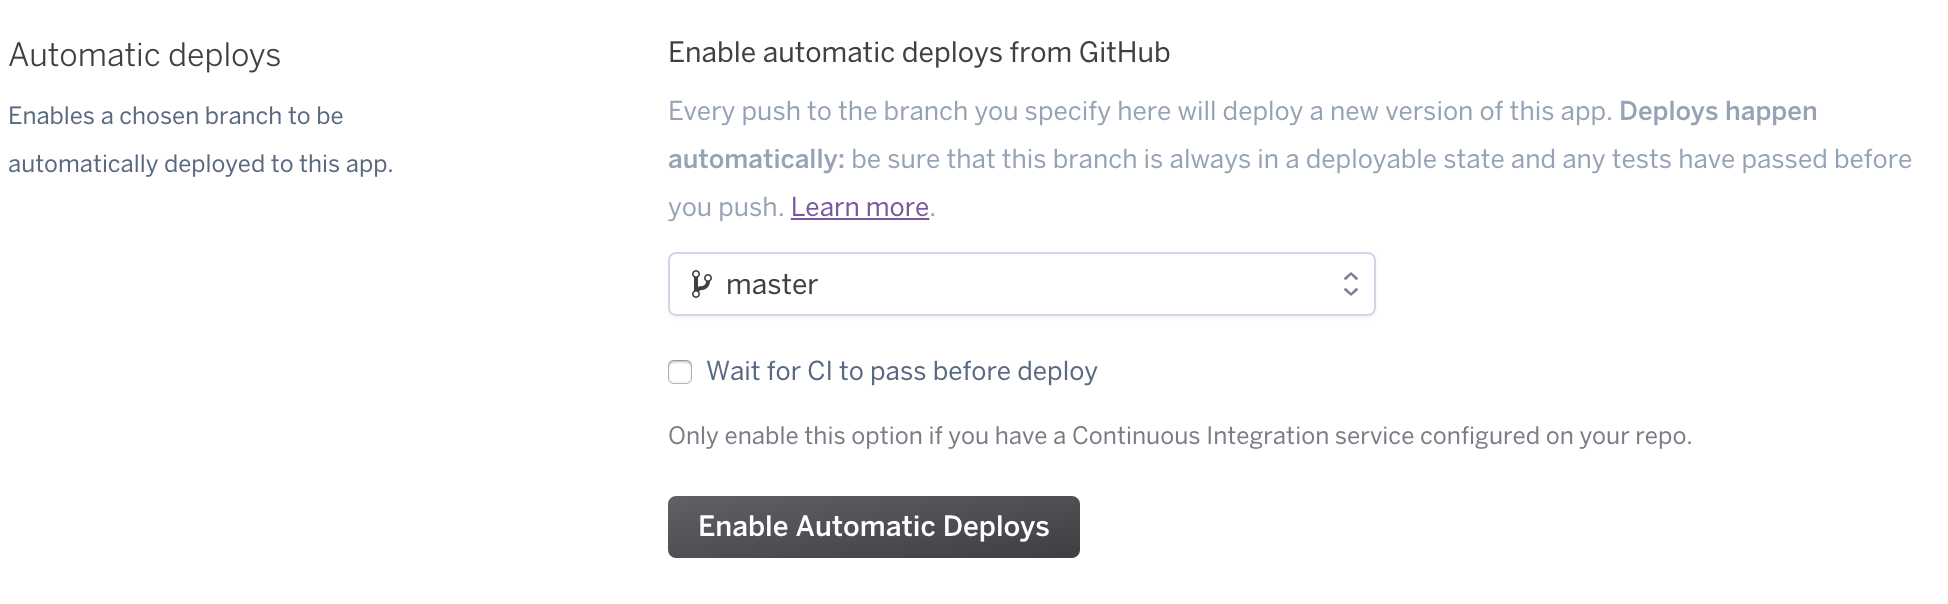
이후 code를 GitHub에 push하면 자동으로 Heroku에 deploy가 실행된다.
10. Add-on 설치
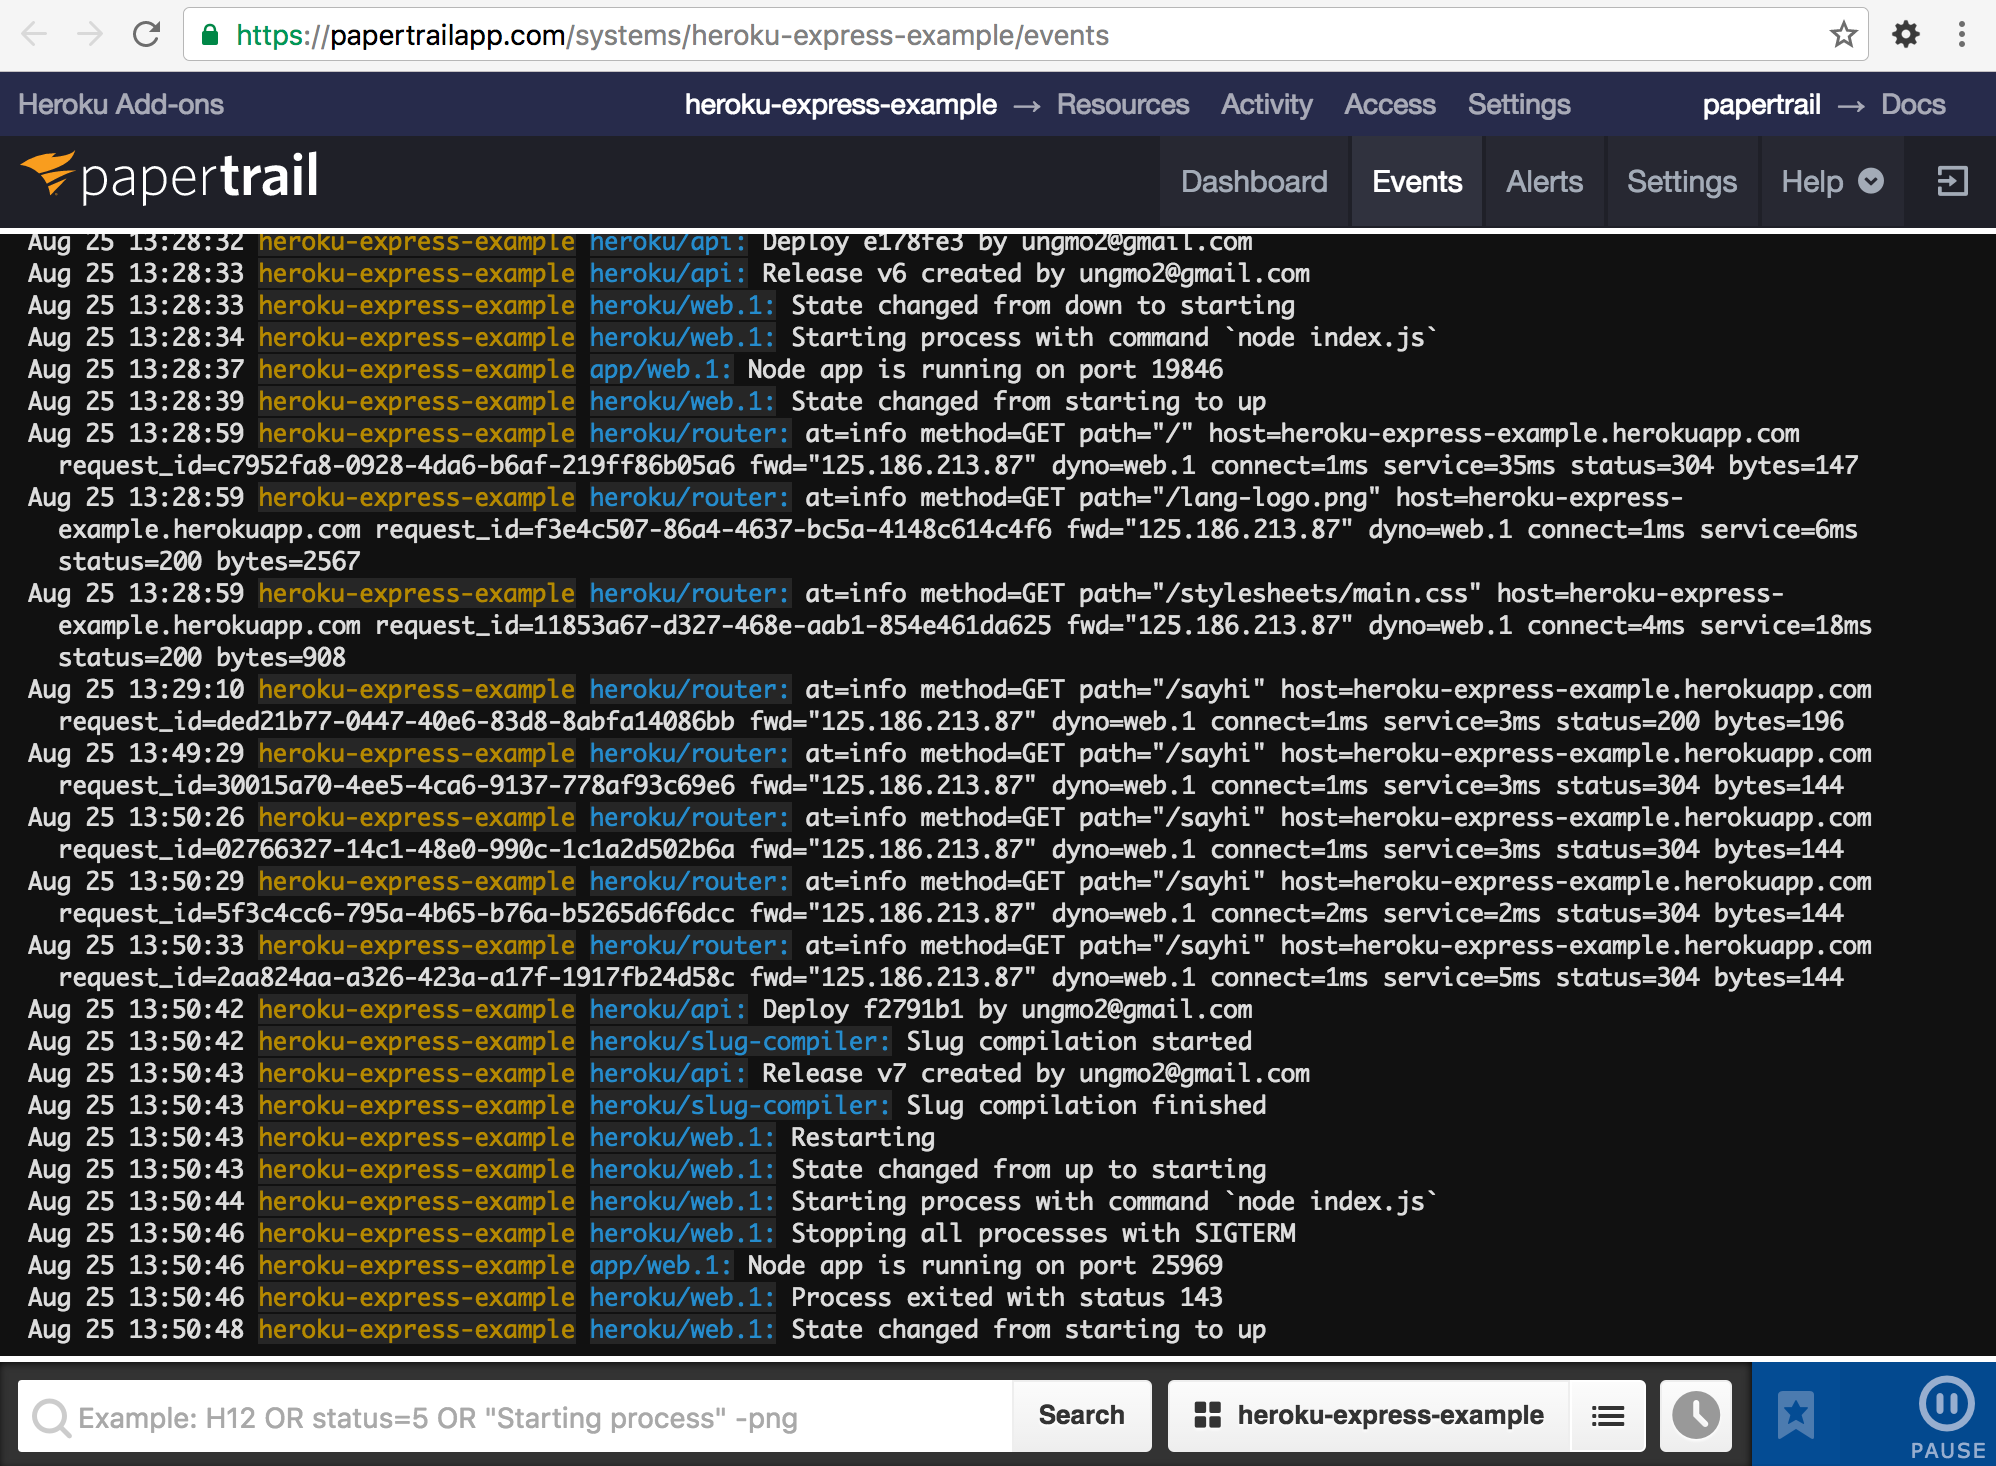
Logging add-on Papertrail을 설치한다.
$ heroku addons:create papertrail
$ heroku addons

Add-on                                  Plan     Price
──────────────────────────────────────  ───────  ─────
papertrail (papertrail-colorful-87606)  choklad  free
 └─ as PAPERTRAIL

The table above shows add-ons and the attachments to the current app (heroku-express-example) or other apps.
$ heroku addons:open papertrail
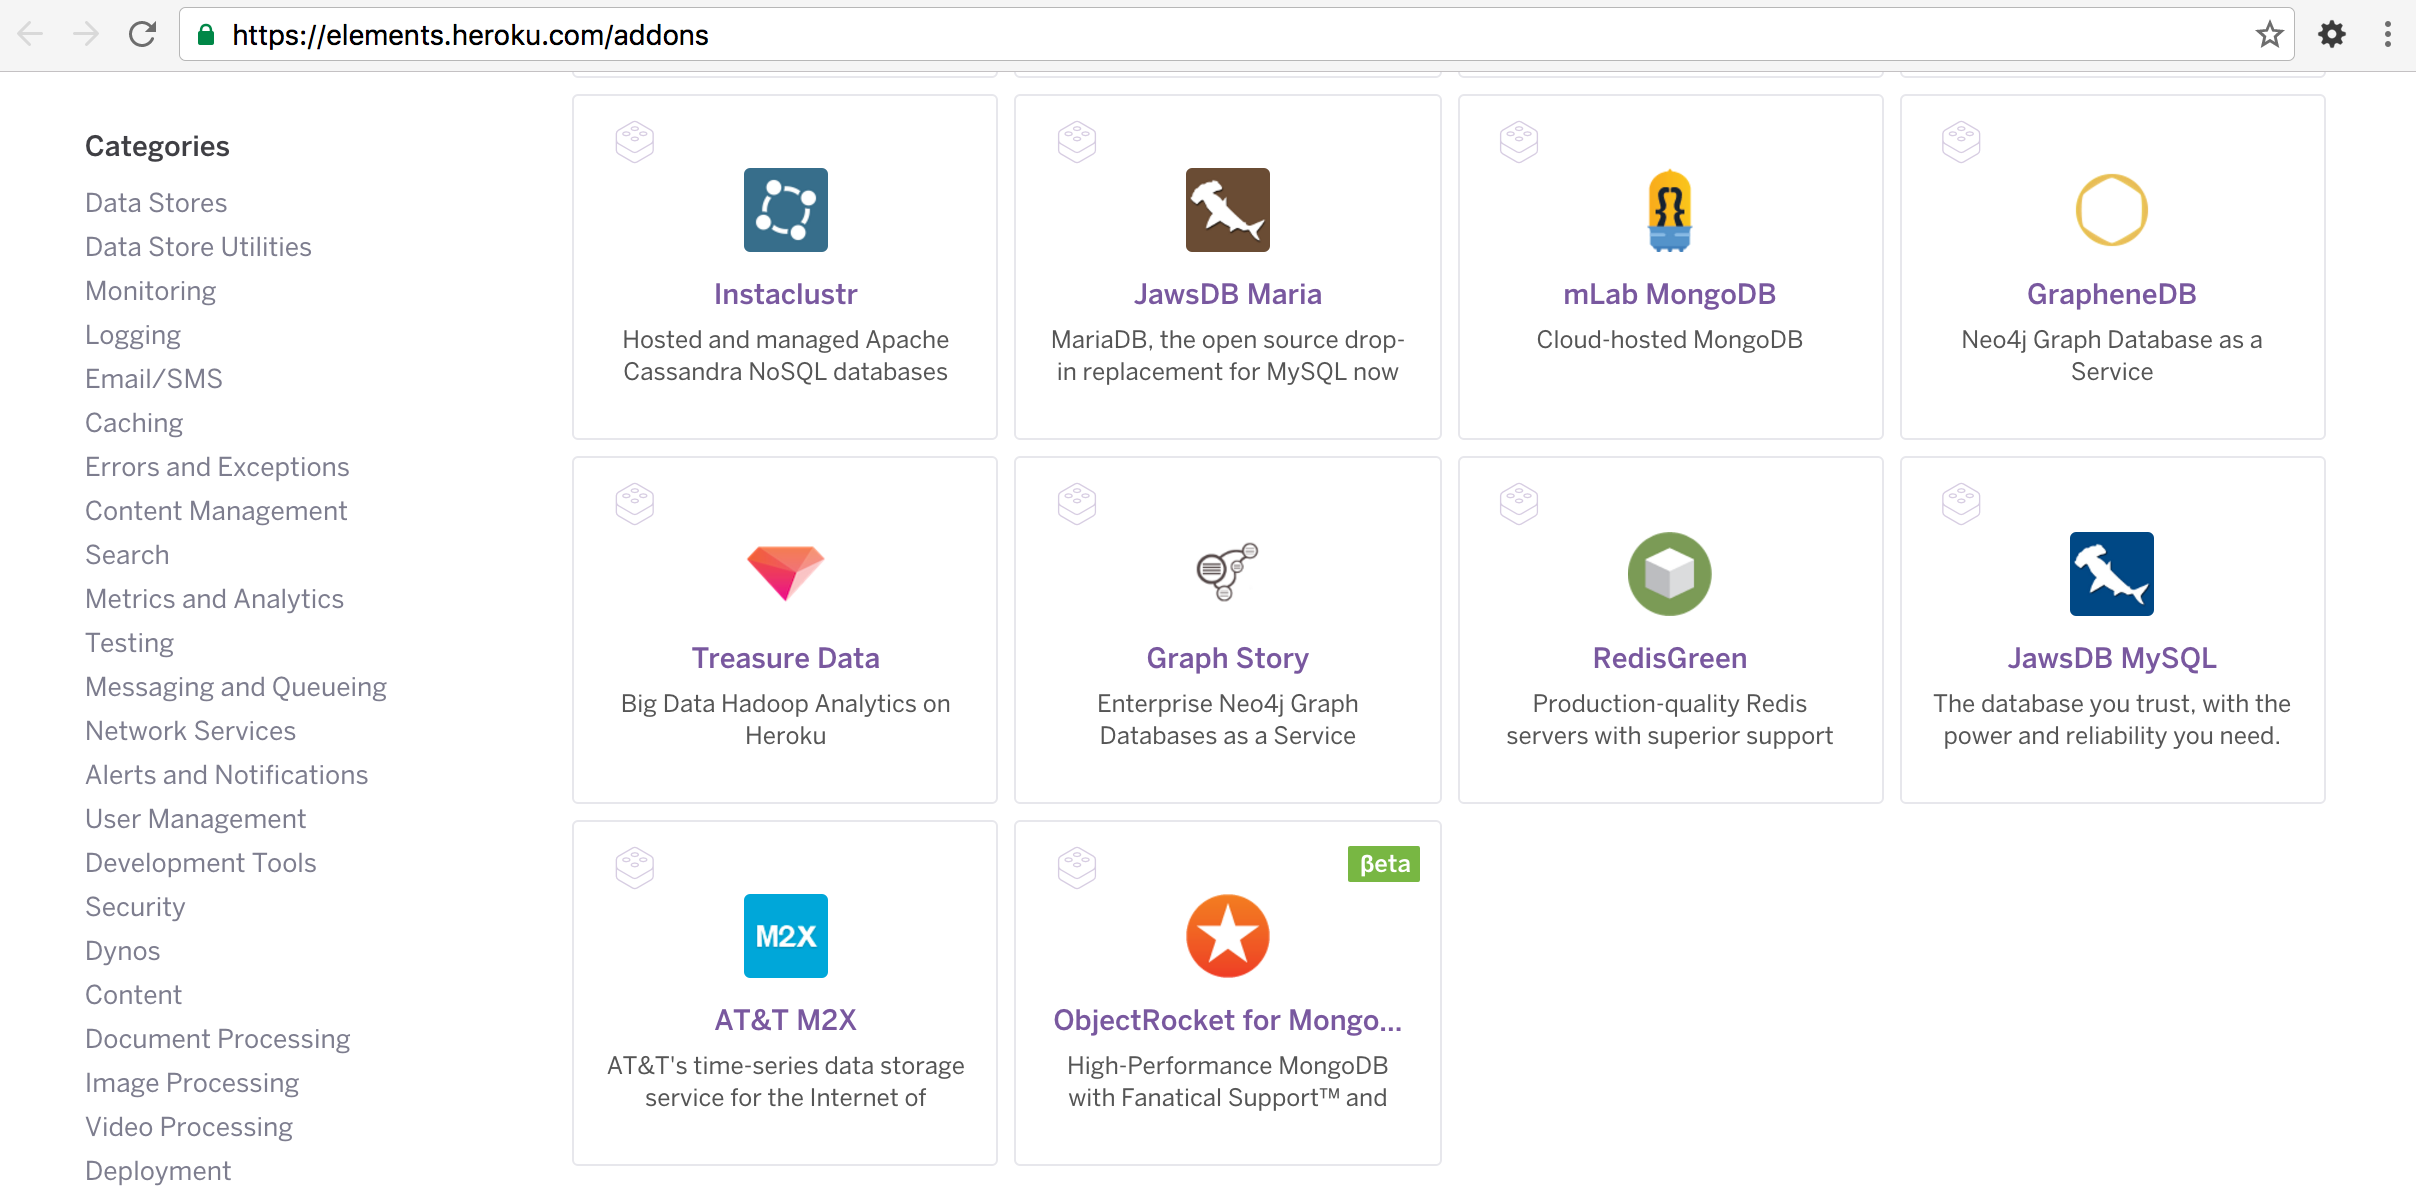
11. Database 설치
Heroku는 Redis, MongoDB, Postgres, MySQL 등 다수의 data store add-on을 제공한다.
이중 MongoDB add-on을 추가한다.
$ heroku addons:create mongolab
또는 아래와 같이 추가할 수도 있다.
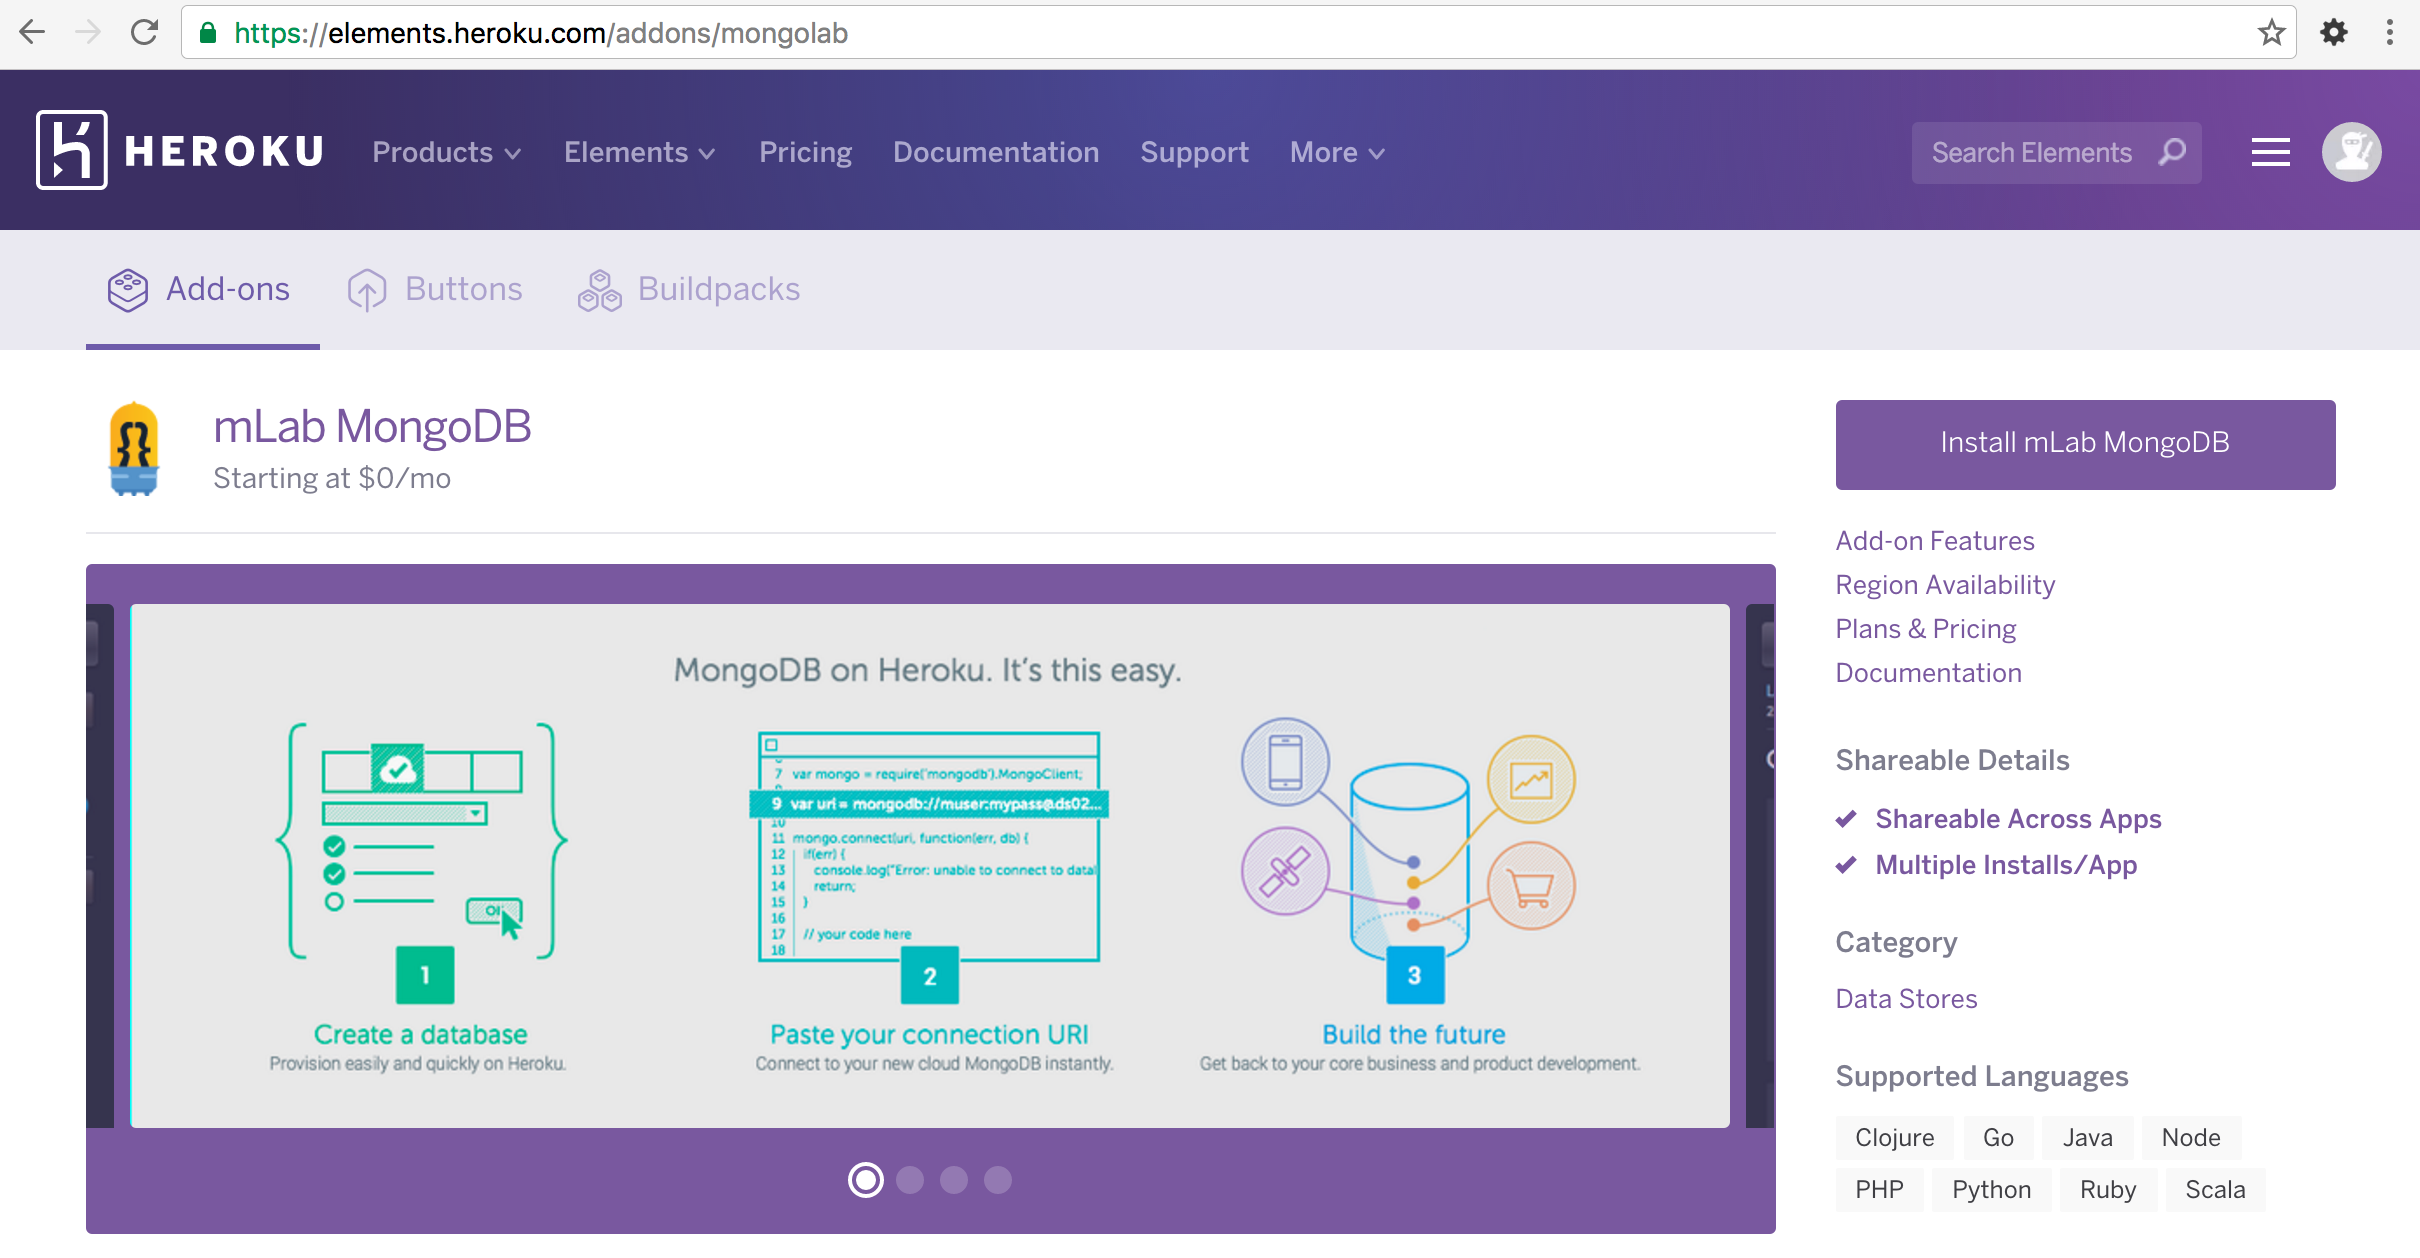
https://elements.heroku.com/addons으로 이동하여 mLab MongoDB를 선택한다.
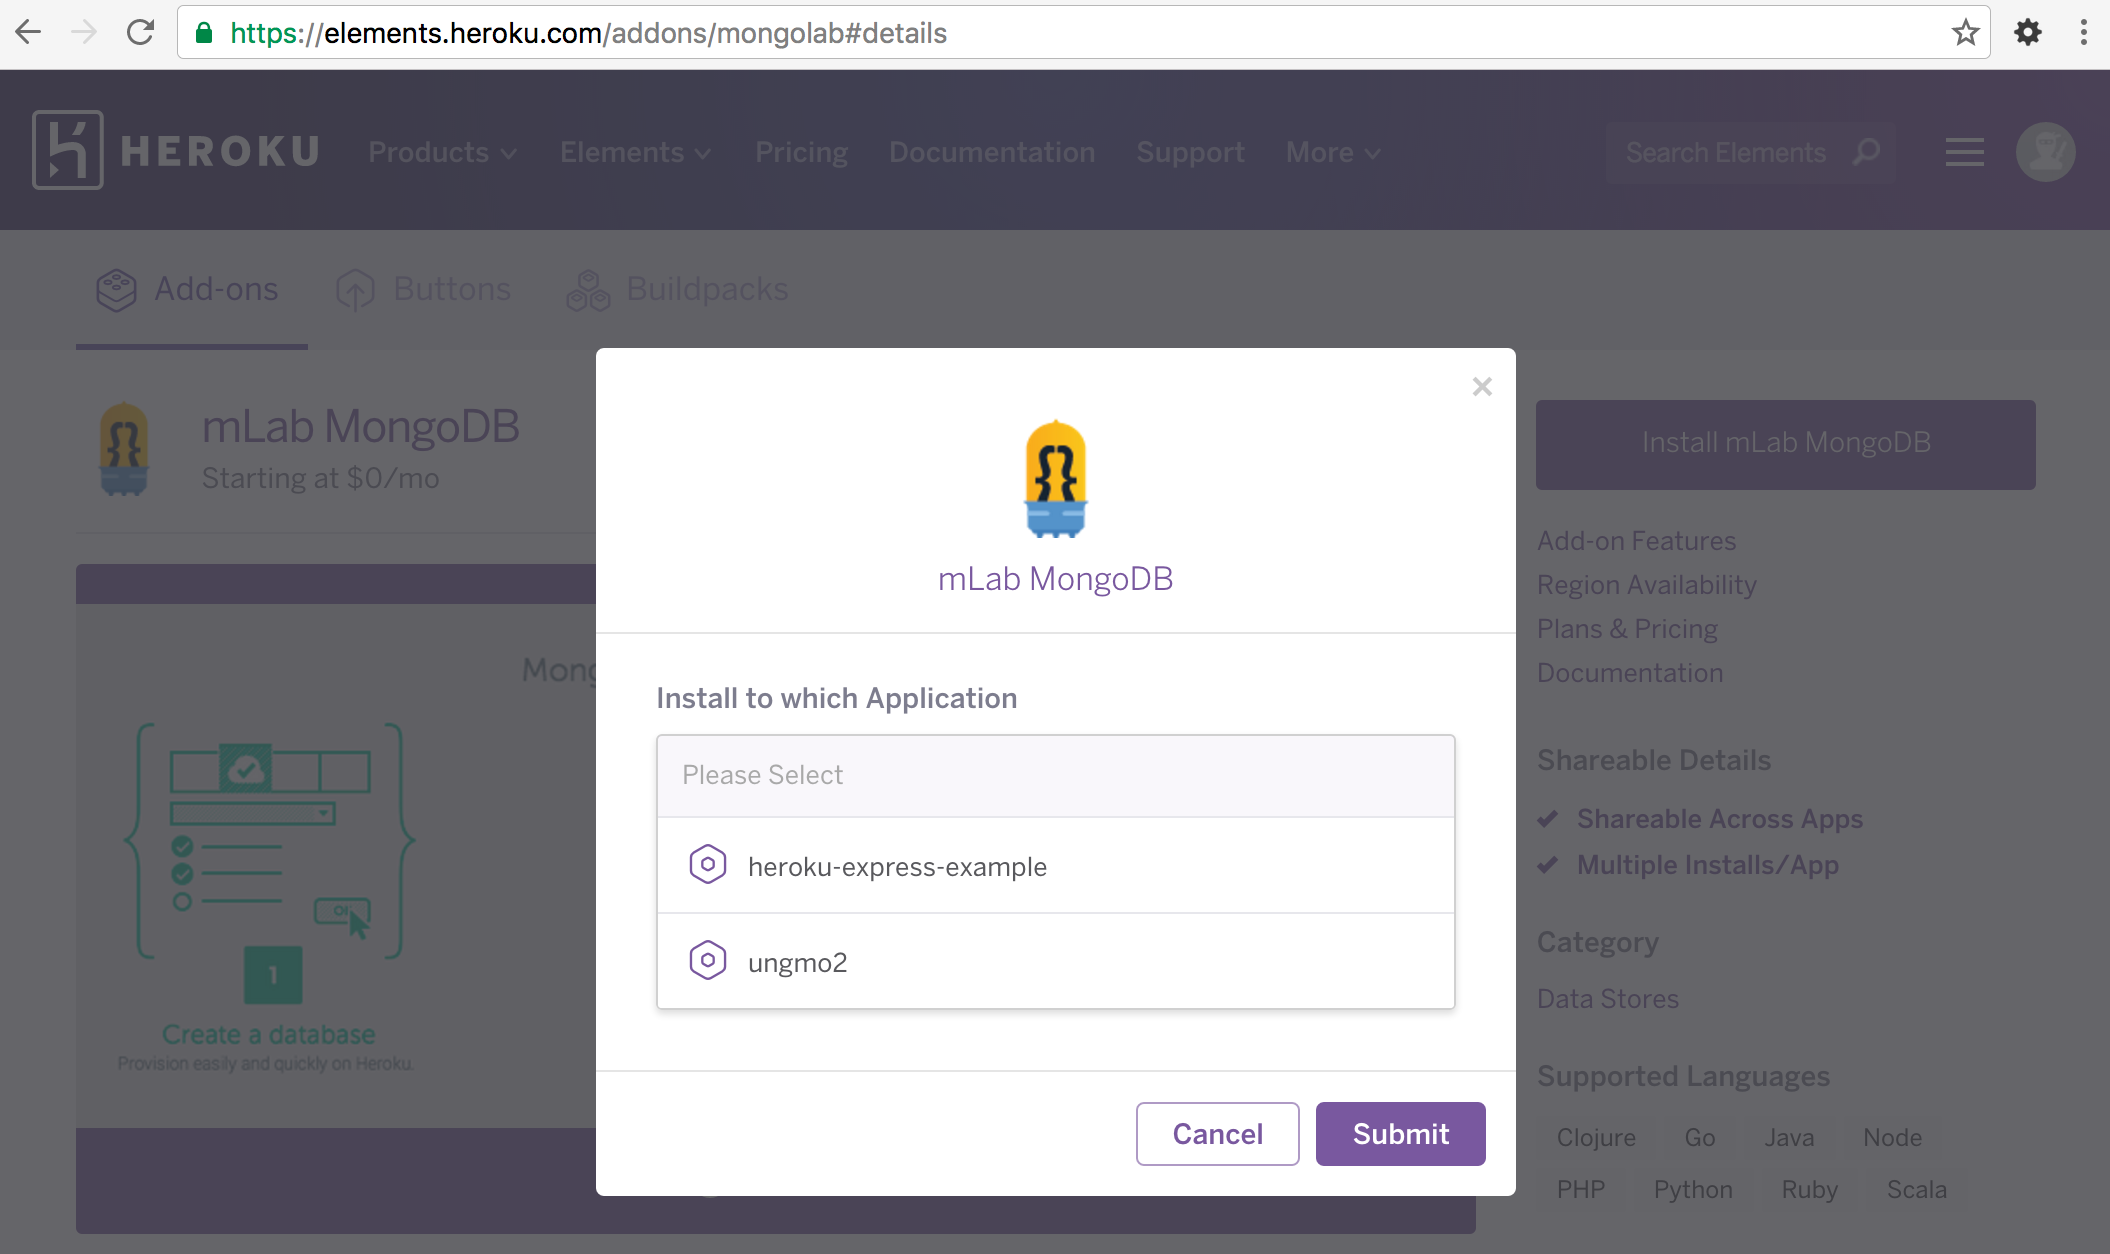
Install mLab MongoDB 버튼을 클릭한다.
Install 대상 app을 선택한다.
Heroku Dashboard의 Resources 탭으로 이동하여 Add-ons의 mLab MongoDB를 클릭한다.
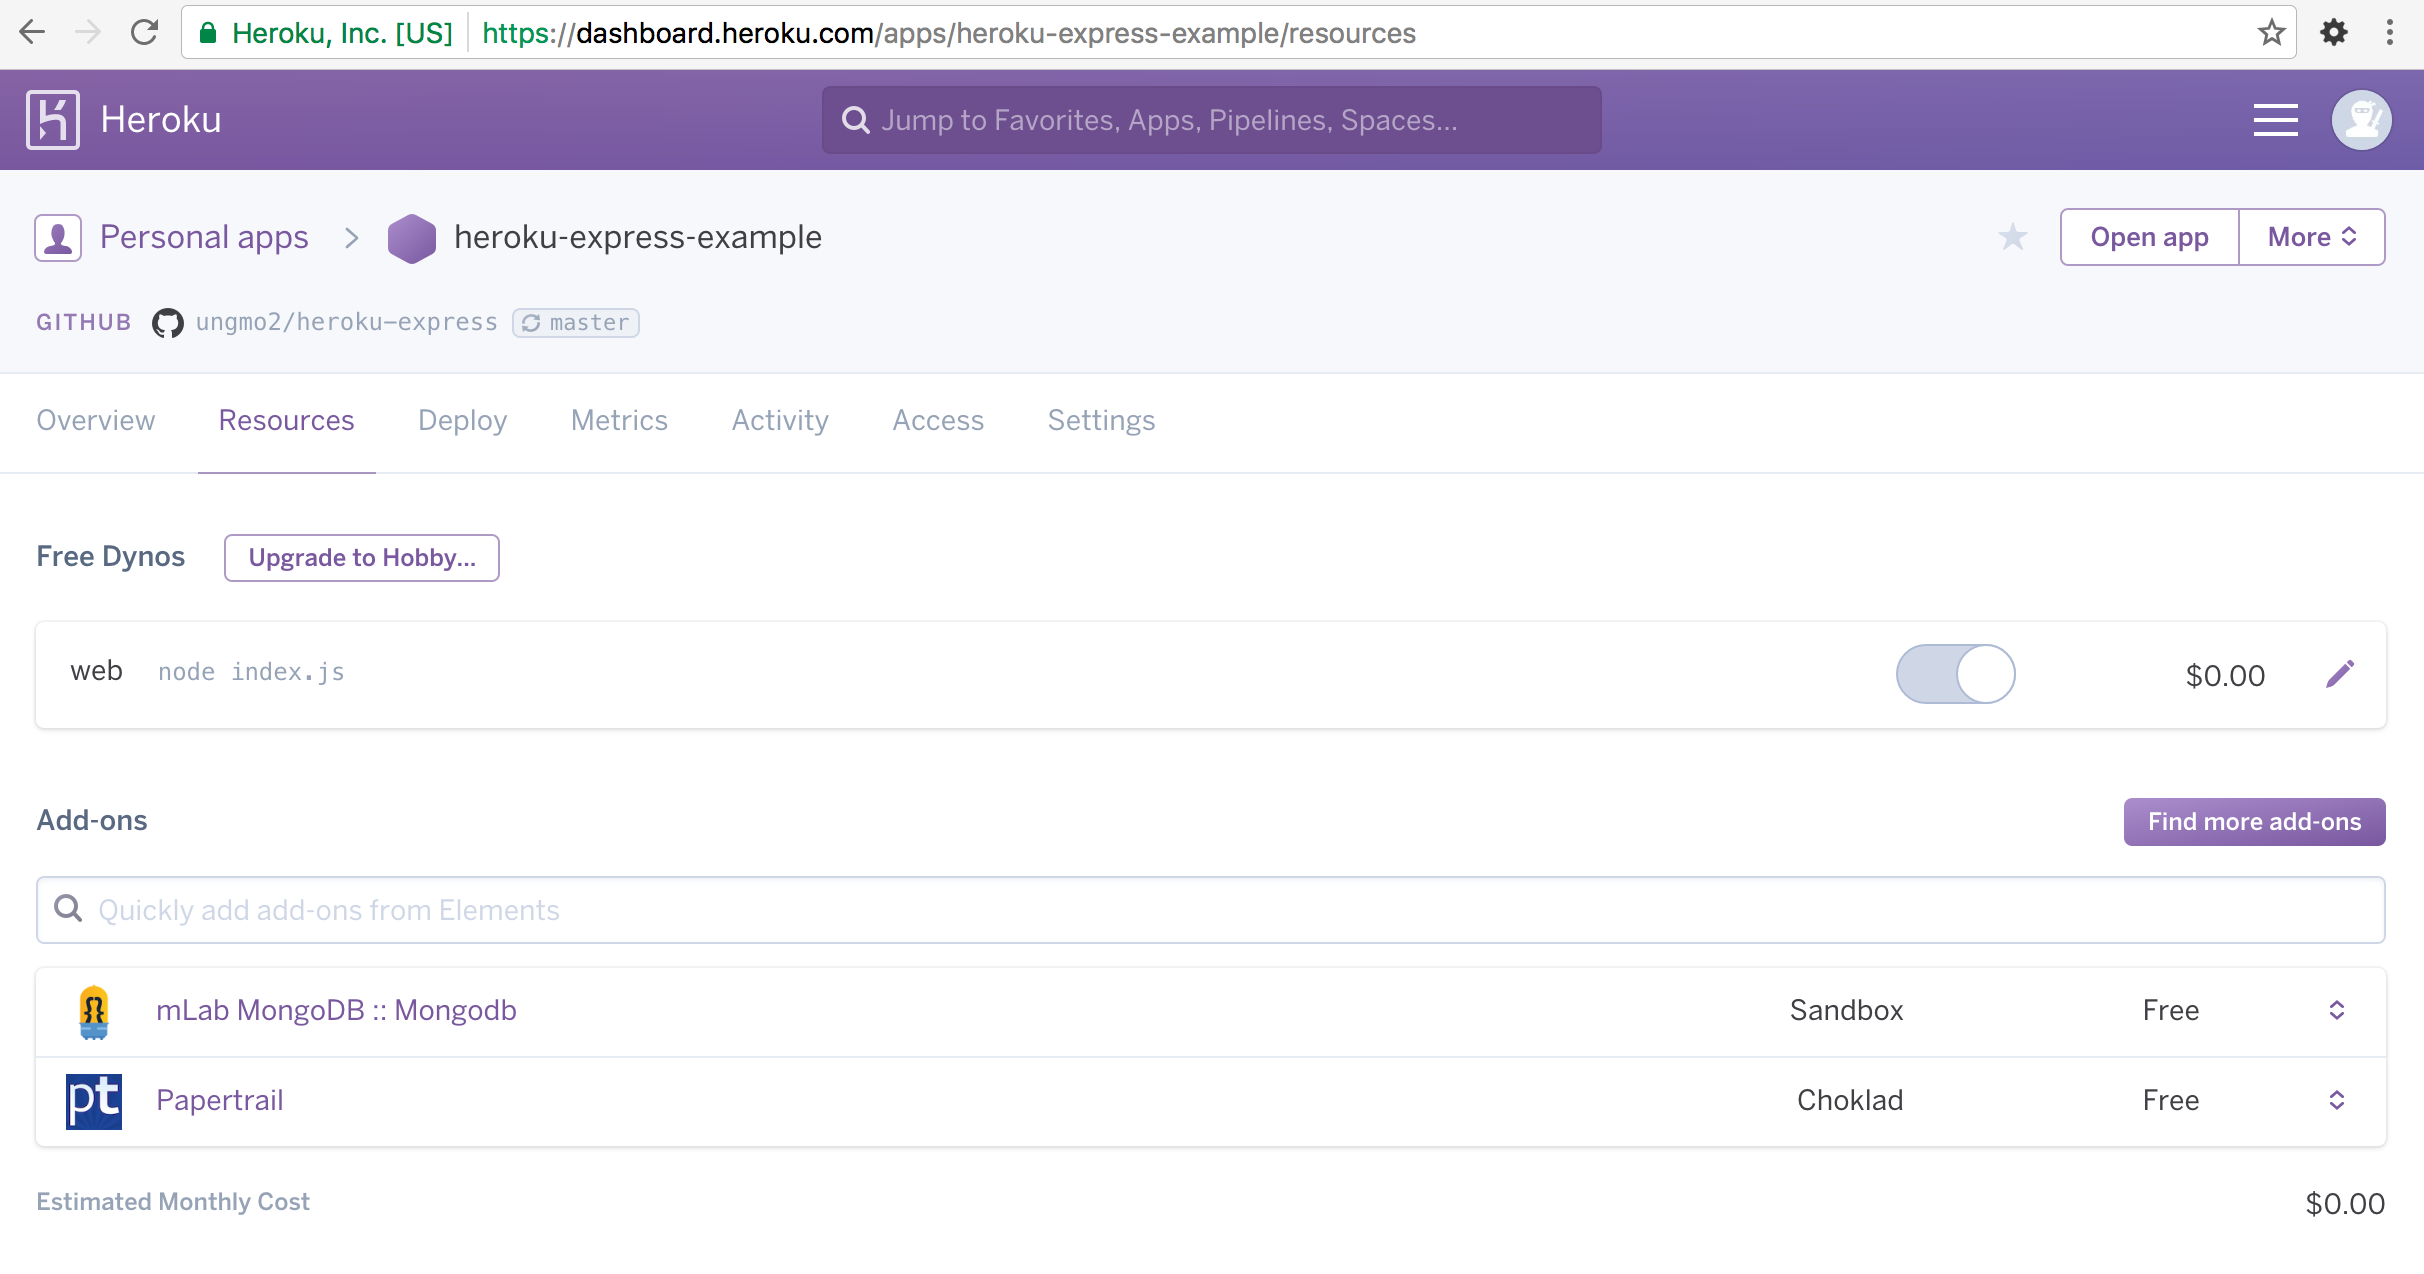
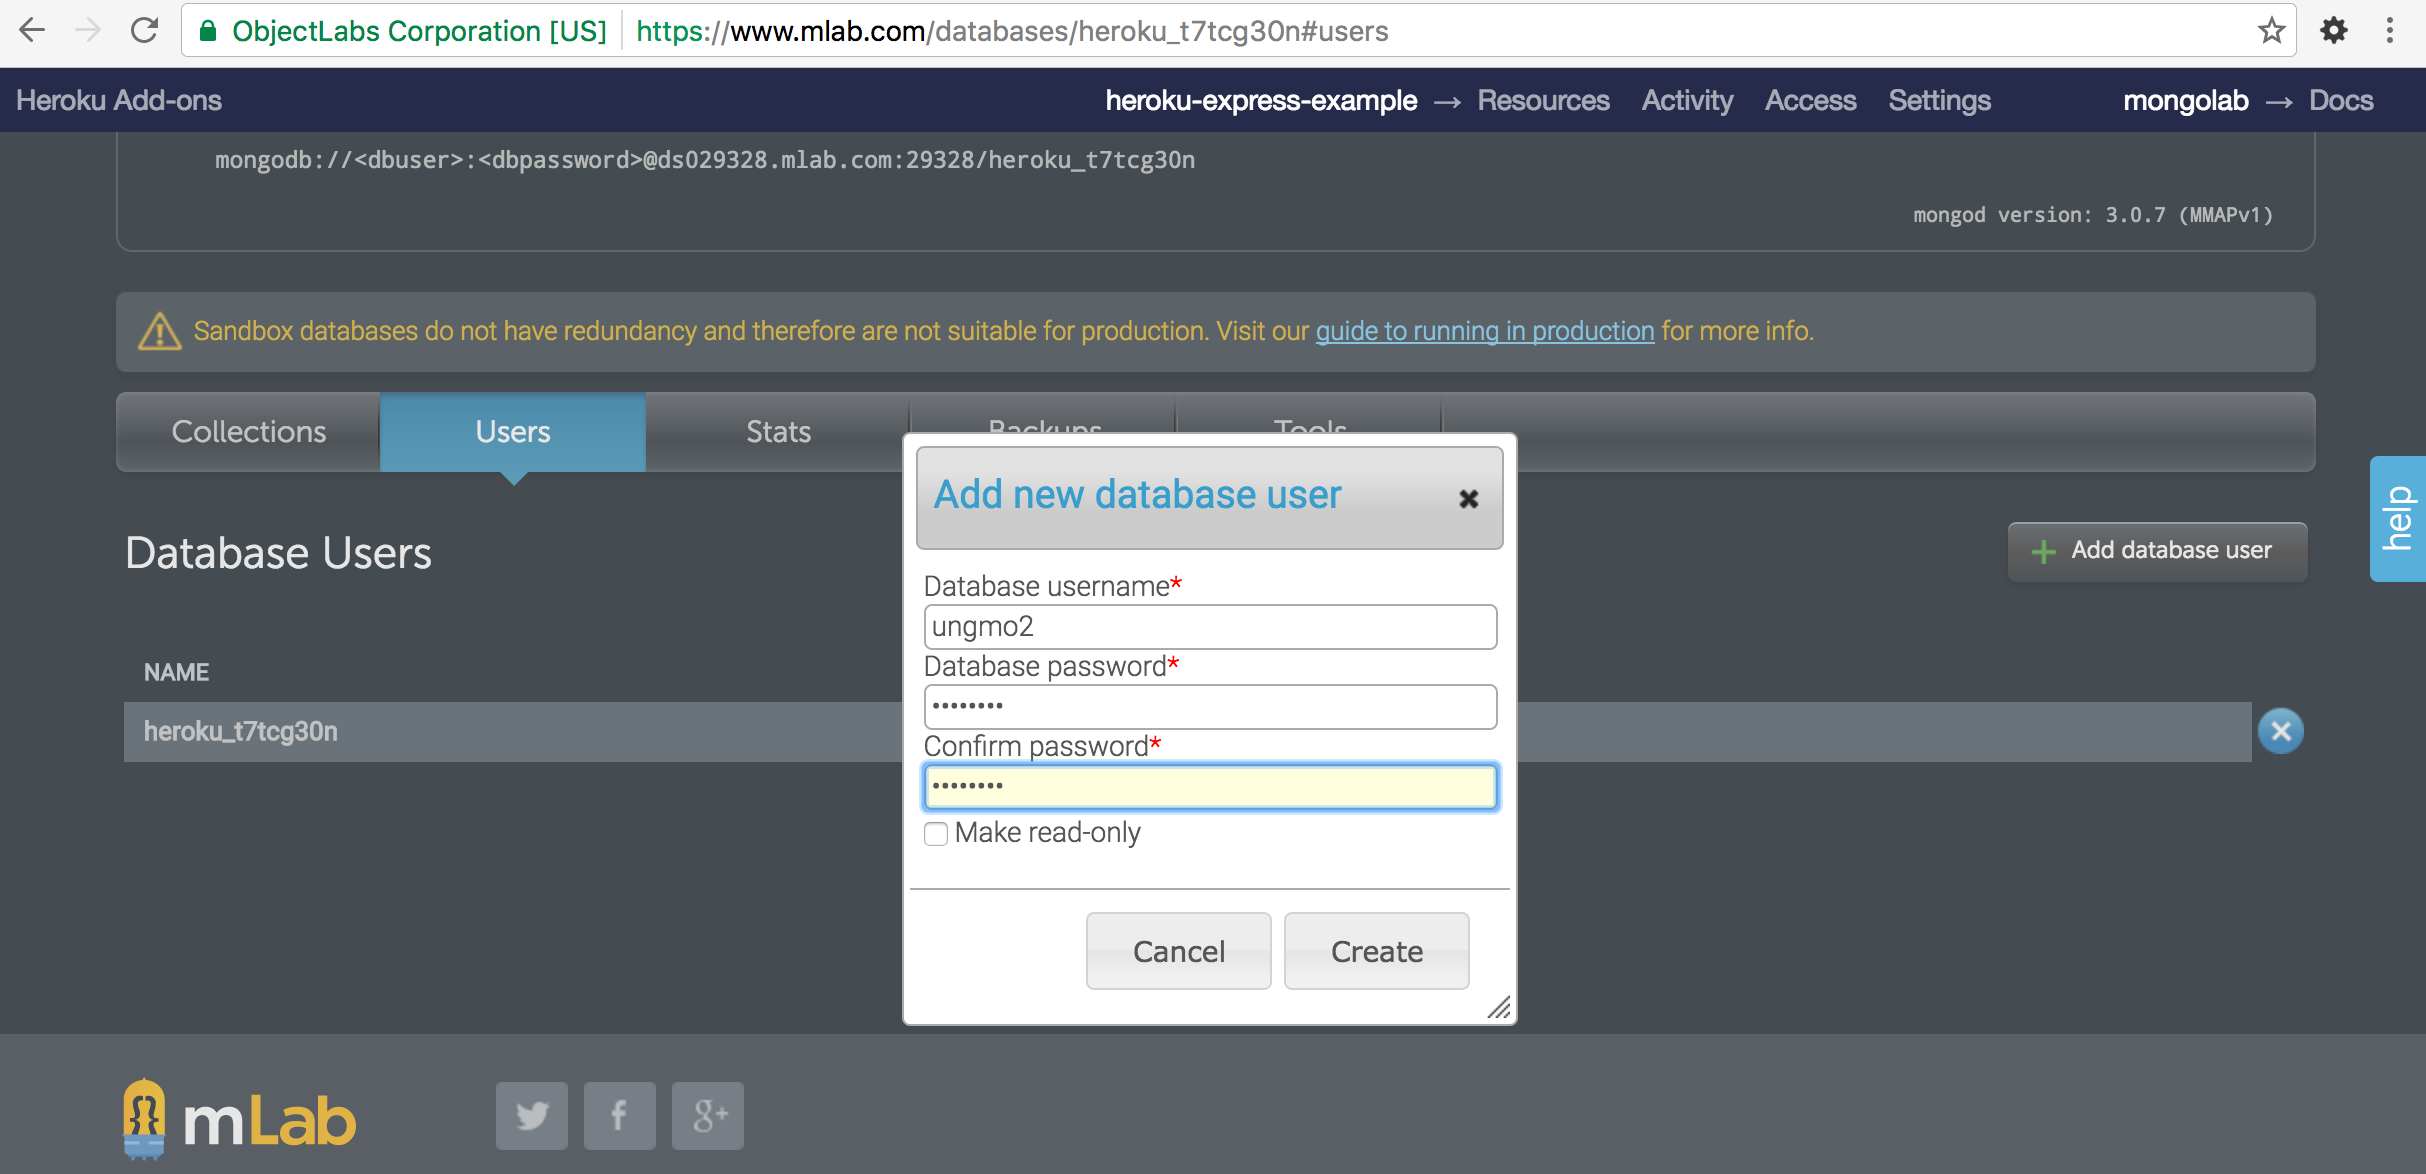
Users 탭을 선택하고 Add database user 버튼을 클릭하여 새로운 사용자를 생성한다.
MongoDB add-on을 생성하면 database connection URI이 config var에 저장된다.
이 값은 Node.js 내에서 process.env.MONGODB_URI로 접근할 수 있다.
새롭게 생성한 user를 config var의 MONGODB_URI에 저장한다.
MongoDB에 접속한다.
$ mongo ds029328.mlab.com:29328/<dbname> -u <dbuser> -p <dbpassword>
MongoDB shell version: 3.2.8
connecting to: ds029328.mlab.com:29328/heroku_t7tcg30n
rs-ds029328:PRIMARY>
sample data를 insert한다.
use heroku_t7tcg30n
switched to db heroku_t7tcg30n
rs-ds029328:PRIMARY> db.books.insert(
[{ title: "Example1", author: "Lee", price: 100 },
{ title: "Example2", author: "Kim", price: 200 },
{ title: "Example3", author: "Choi", price: 300 },
{ title: "Example4", author: "Park", price: 400 }])
BulkWriteResult({
"writeErrors" : [ ],
"writeConcernErrors" : [ ],
"nInserted" : 4,
"nUpserted" : 0,
"nMatched" : 0,
"nModified" : 0,
"nRemoved" : 0,
"upserted" : [ ]
})
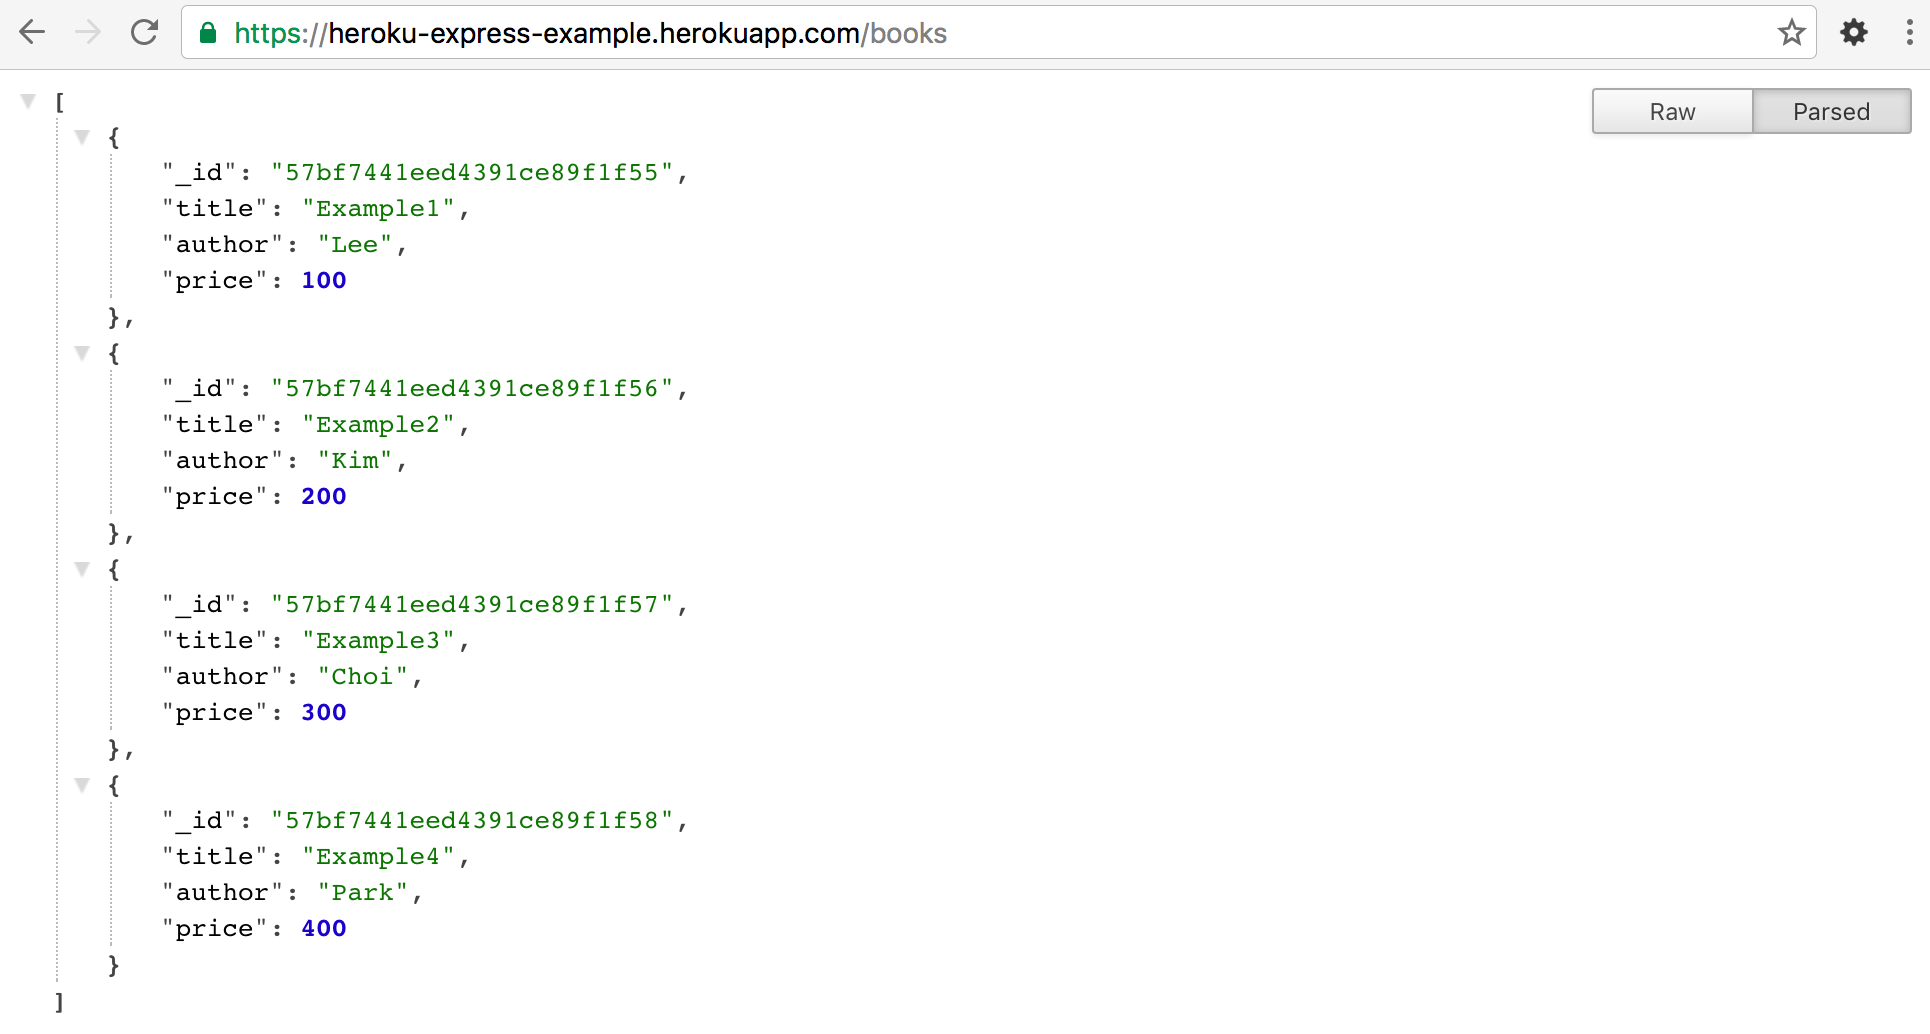
rs-ds029328:PRIMARY> db.books.find()
{ "_id" : ObjectId("57bf7441eed4391ce89f1f55"), "title" : "Example1", "author" : "Lee", "price" : 100 }
{ "_id" : ObjectId("57bf7441eed4391ce89f1f56"), "title" : "Example2", "author" : "Kim", "price" : 200 }
{ "_id" : ObjectId("57bf7441eed4391ce89f1f57"), "title" : "Example3", "author" : "Choi", "price" : 300 }
{ "_id" : ObjectId("57bf7441eed4391ce89f1f58"), "title" : "Example4", "author" : "Park", "price" : 400 }
rs-ds029328:PRIMARY>
mongoose 모듈을 install한다.
$ npm install --save --save-exact mongoose
index.js를 수정한다.
var cool     = require('cool-ascii-faces');
var express  = require('express');
var mongoose = require('mongoose');

var app = express();

app.set('port', (process.env.PORT || 5000));

app.use(express.static(__dirname + '/public'));

// views is directory for all template files
app.set('views', __dirname + '/views');
app.set('view engine', 'ejs');

// CONNECT TO MONGODB SERVER
mongoose.connect(process.env.MONGODB_URI);

// DEFINE MODEL
var Books = require('./models/books');

app.get('/', function(request, response) {
  response.render('pages/index');
});

app.get('/cool', function(request, response) {
  response.send(cool());
});

// GET ALL BOOKS
app.get('/books', function(req,res){
  Books.find(function(err, books){
    if(err) return res.status(500).send({error: 'database failure'});
    res.json(books);
  });
});

app.listen(app.get('port'), function() {
  console.log('Node app is running on port', app.get('port'));
});
root 디렉터리에 models 디렉터리를 생성하고 books.js를 생성하여 추가한다.
var mongoose = require('mongoose');
var Schema   = mongoose.Schema;

var booksSchema = new Schema({
  title : String,
  author: String,
  price : Number
});

module.exports = mongoose.model('books', booksSchema);
Heroku에 deploy 후 동작을 확인한다.